Nail Maintenance in Dogs and Positive Reinforcement
Following on from my previous post regarding general health maintenance for dogs, I decided to dedicate a post to the topic of dog nail maintenance. Nail trimming can be a bit of a minefield for dog owners, so my hope was to be able to walk through how to cut nails, as well as how to desensitise your dog who is fearful of nail trimming.
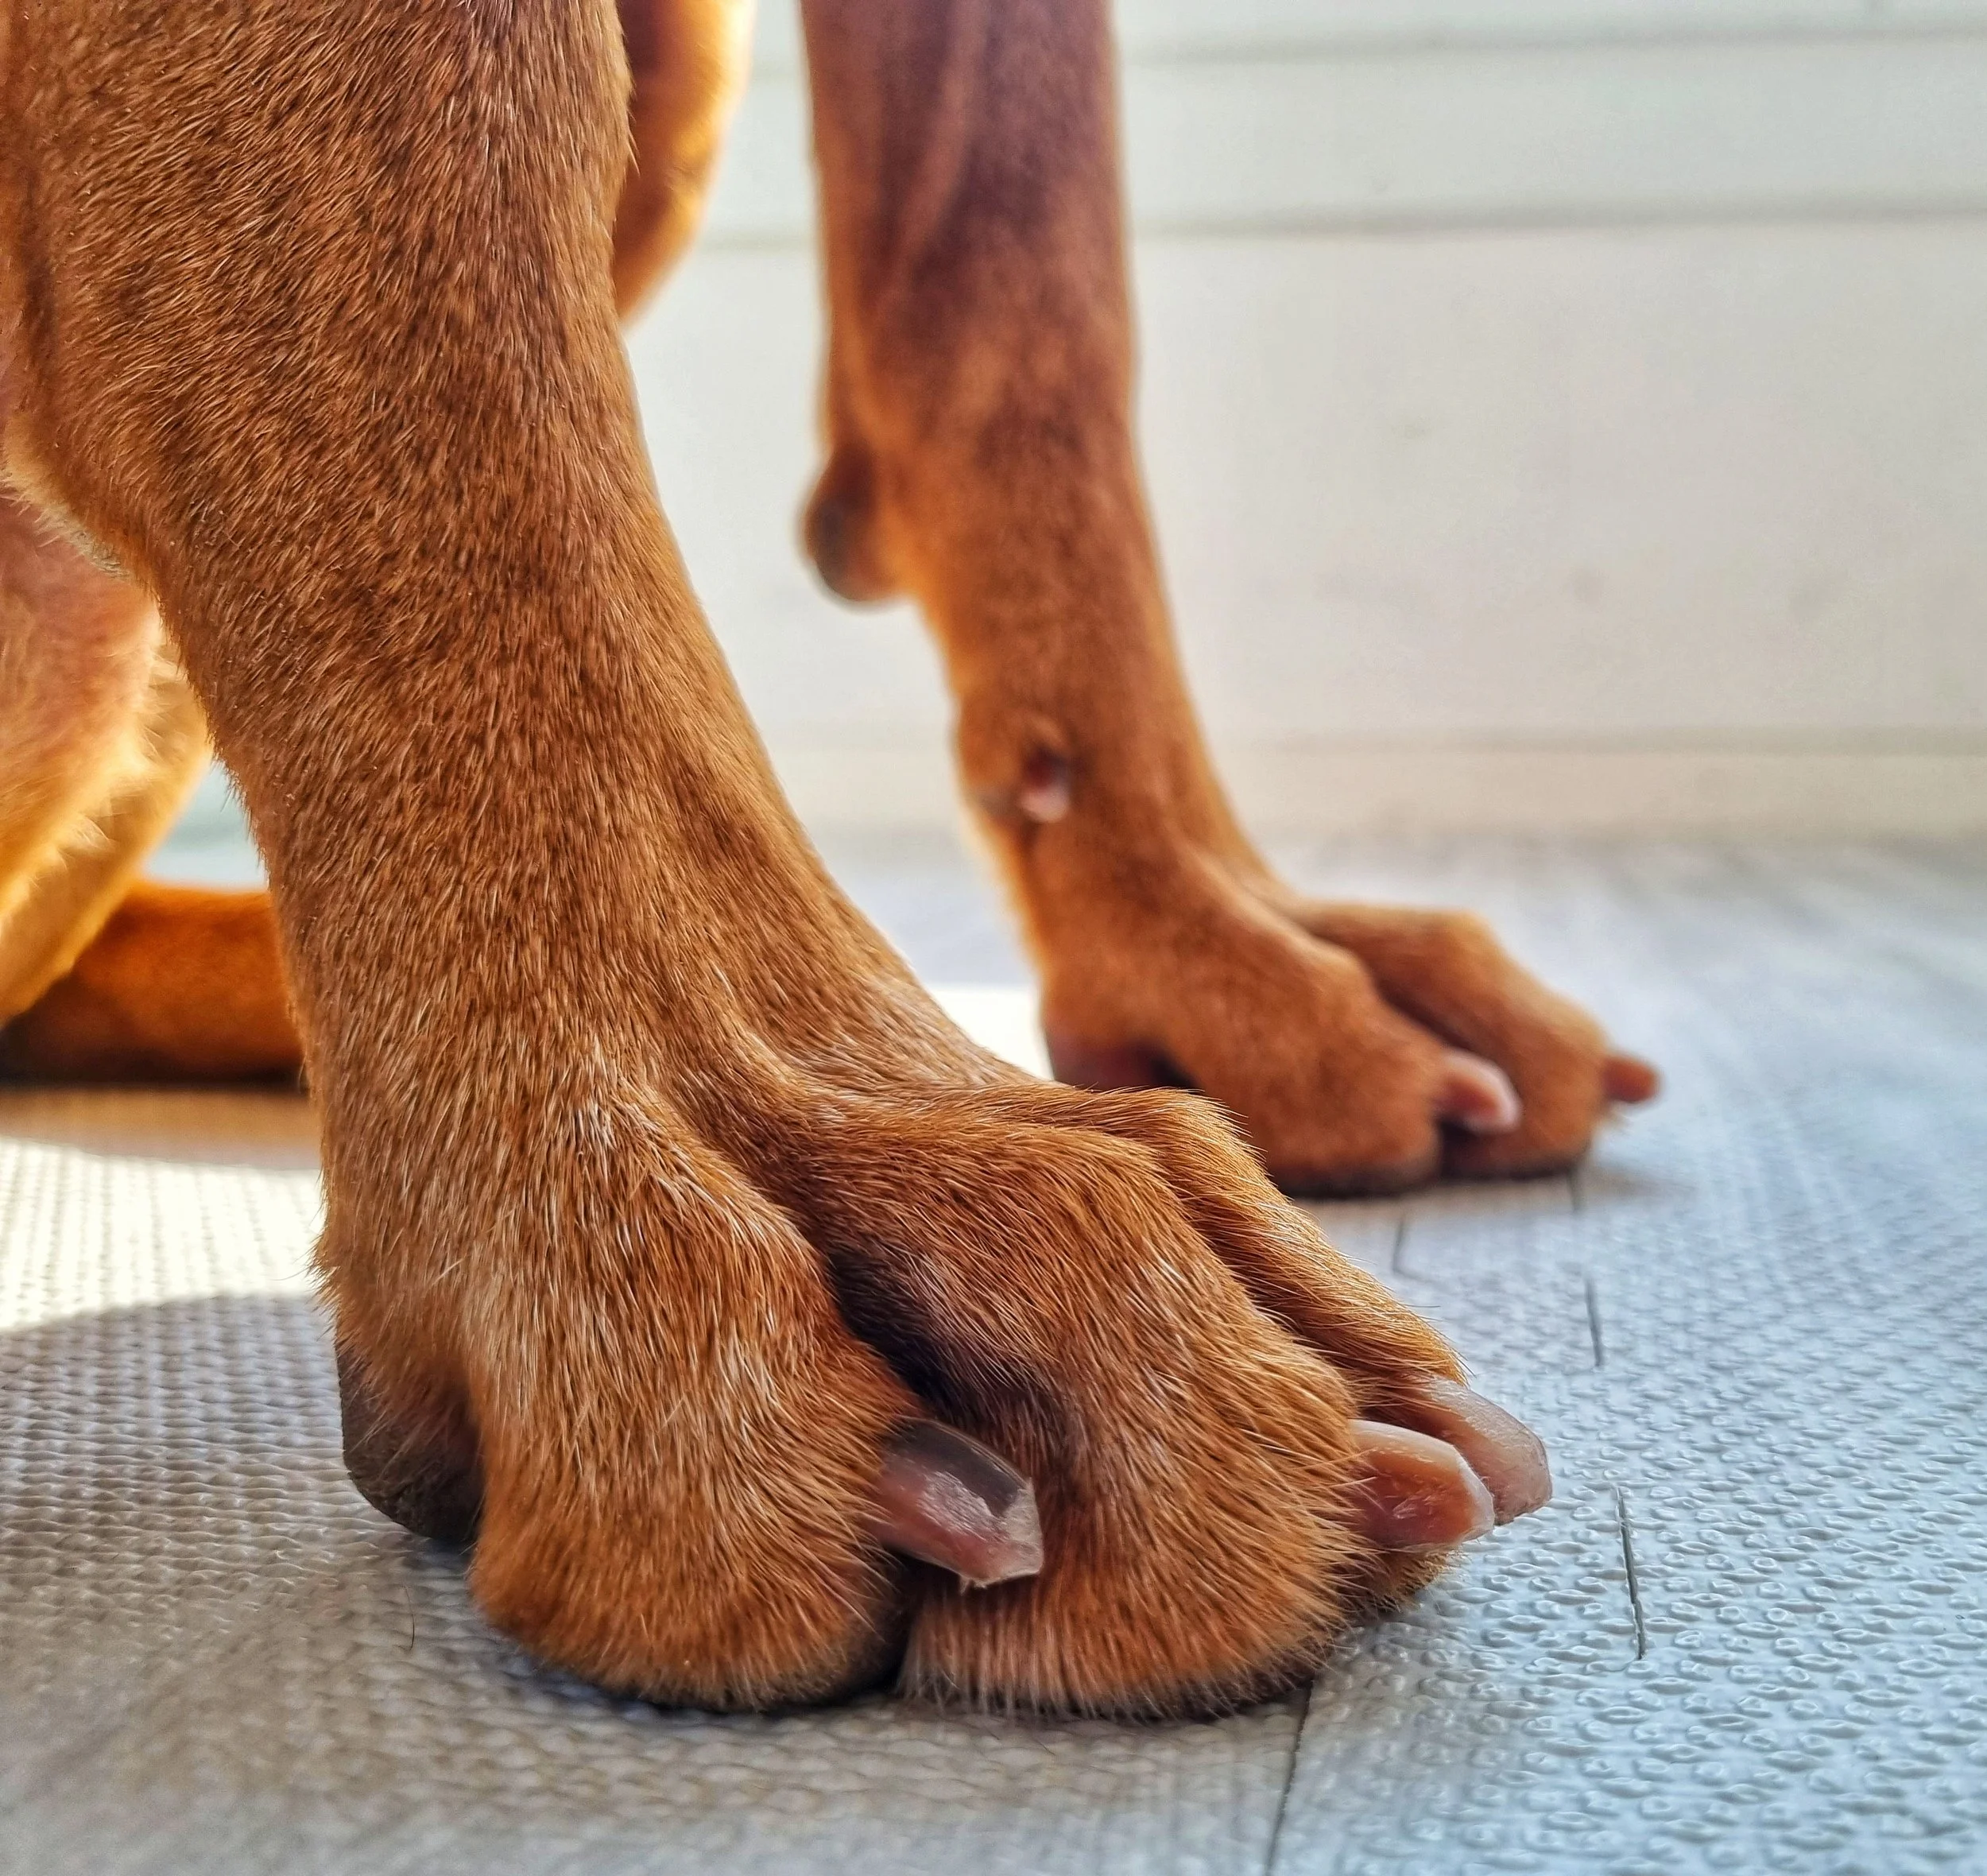
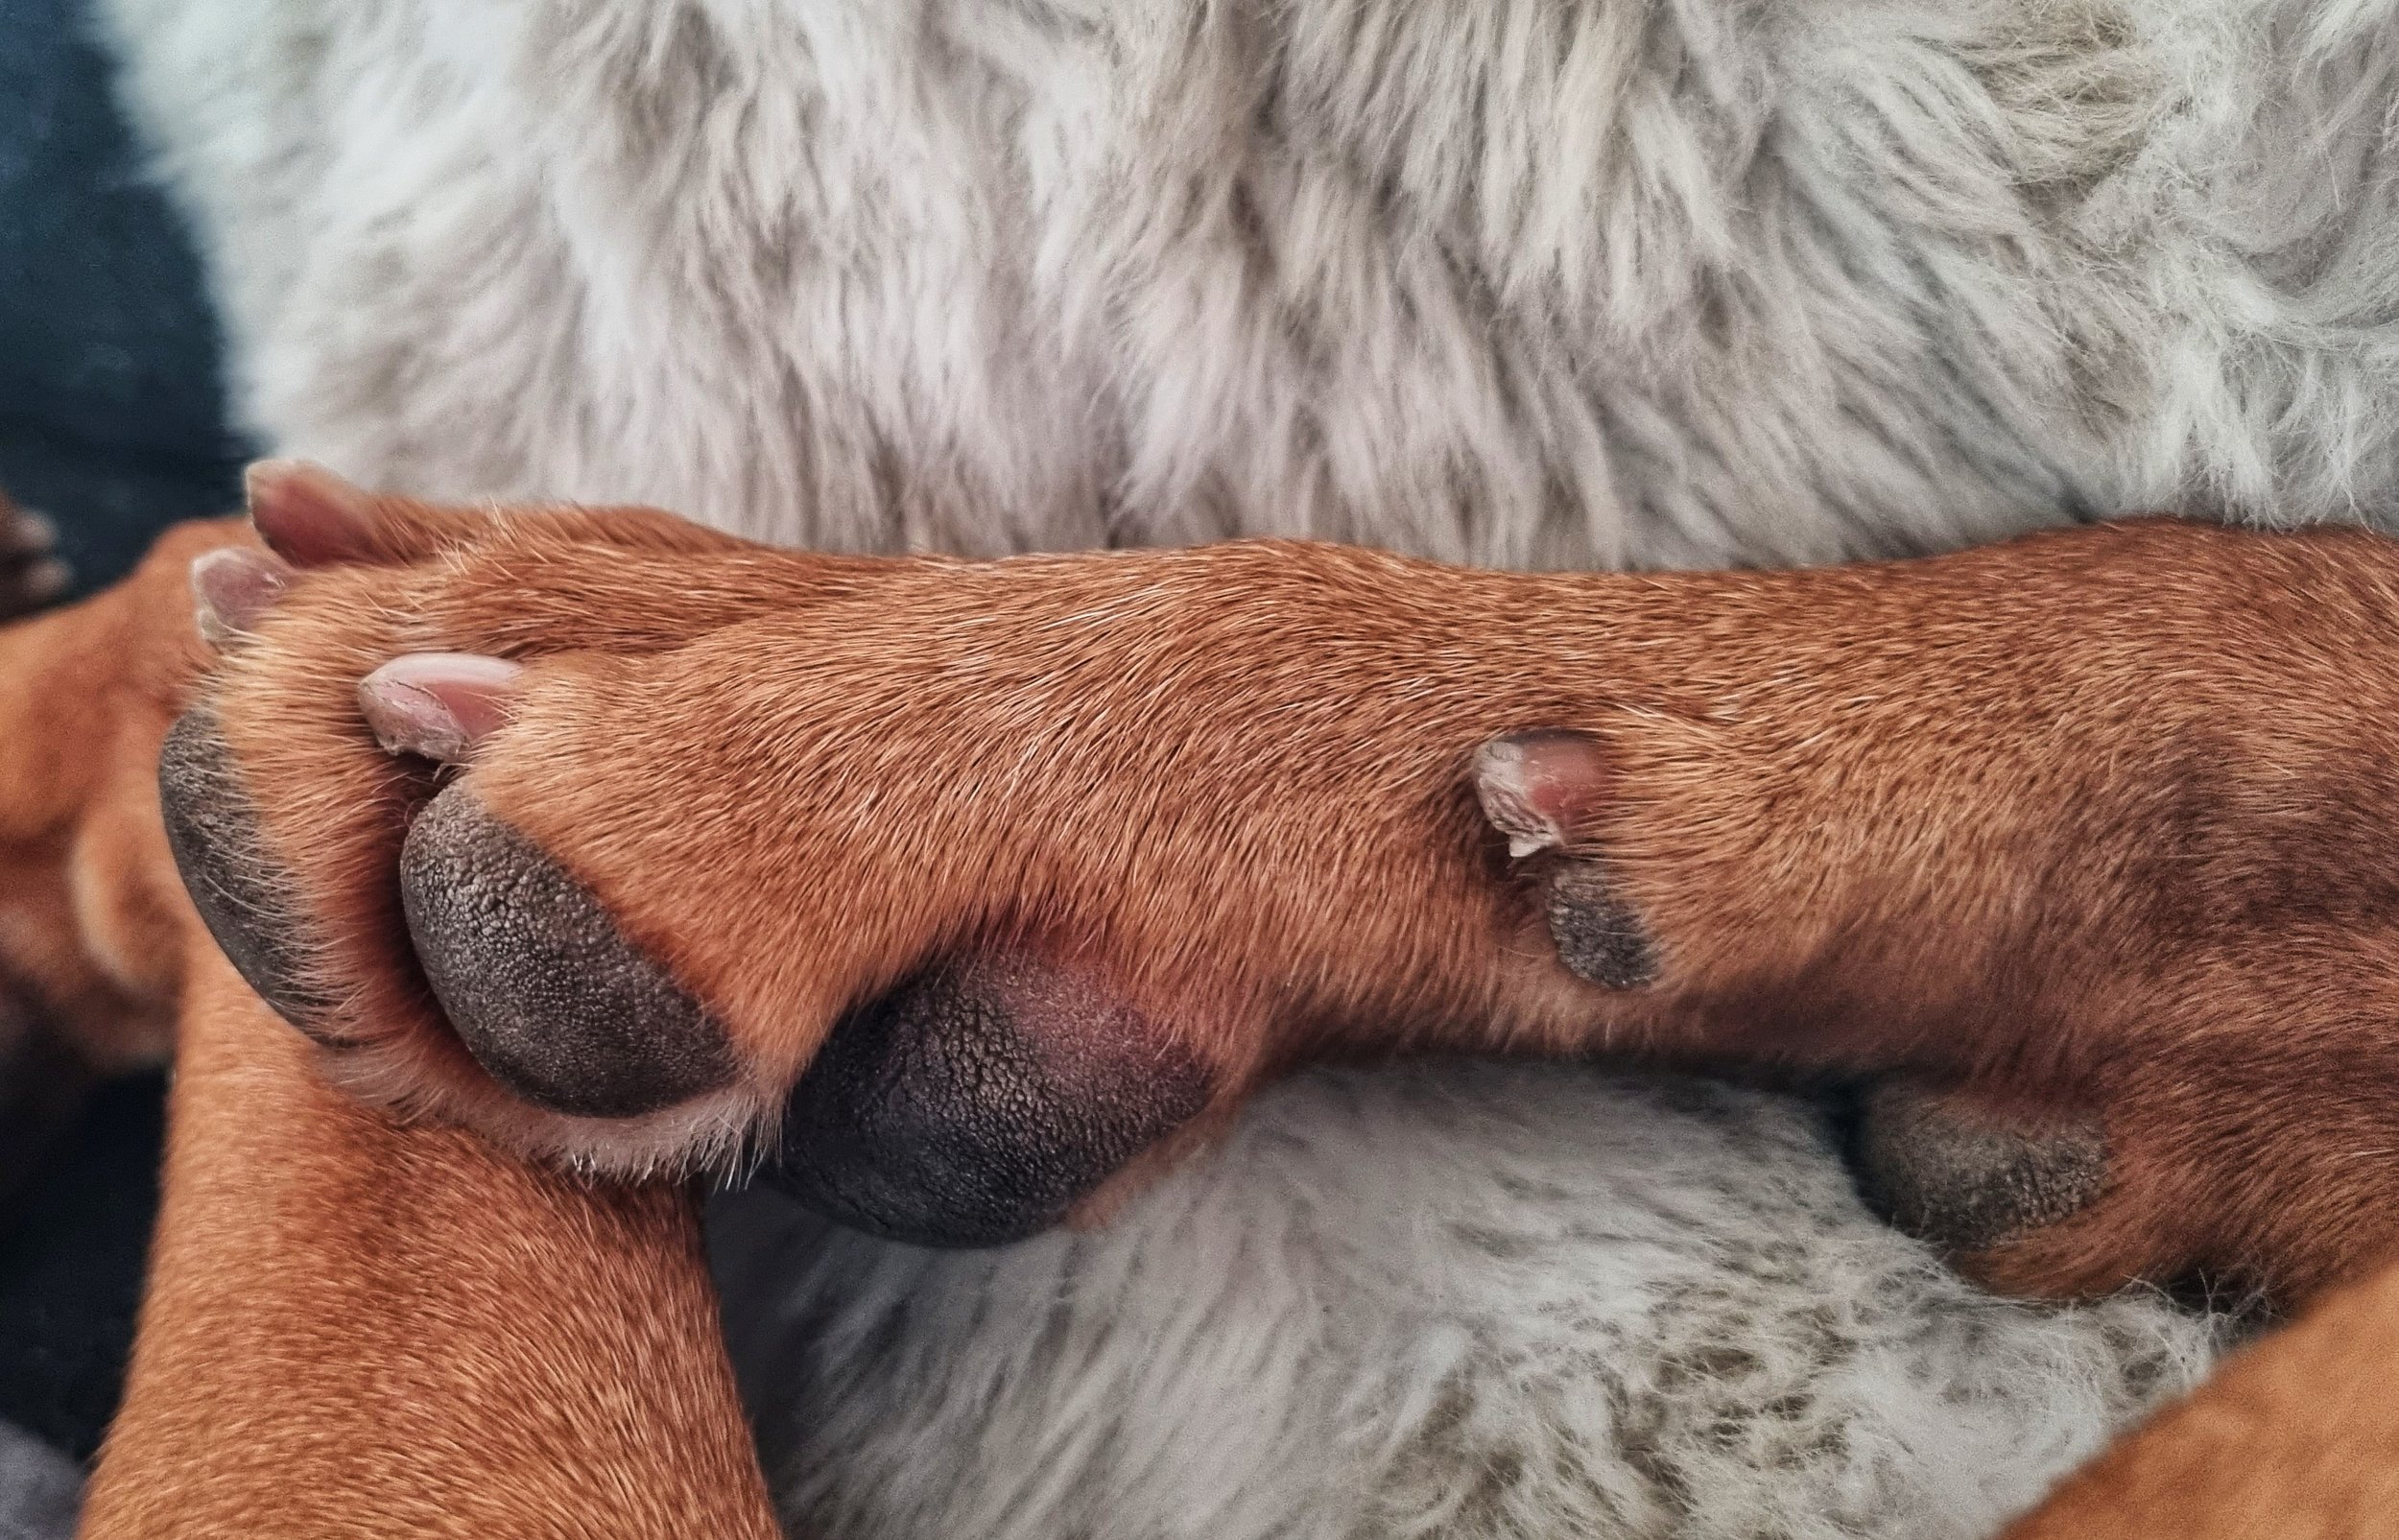
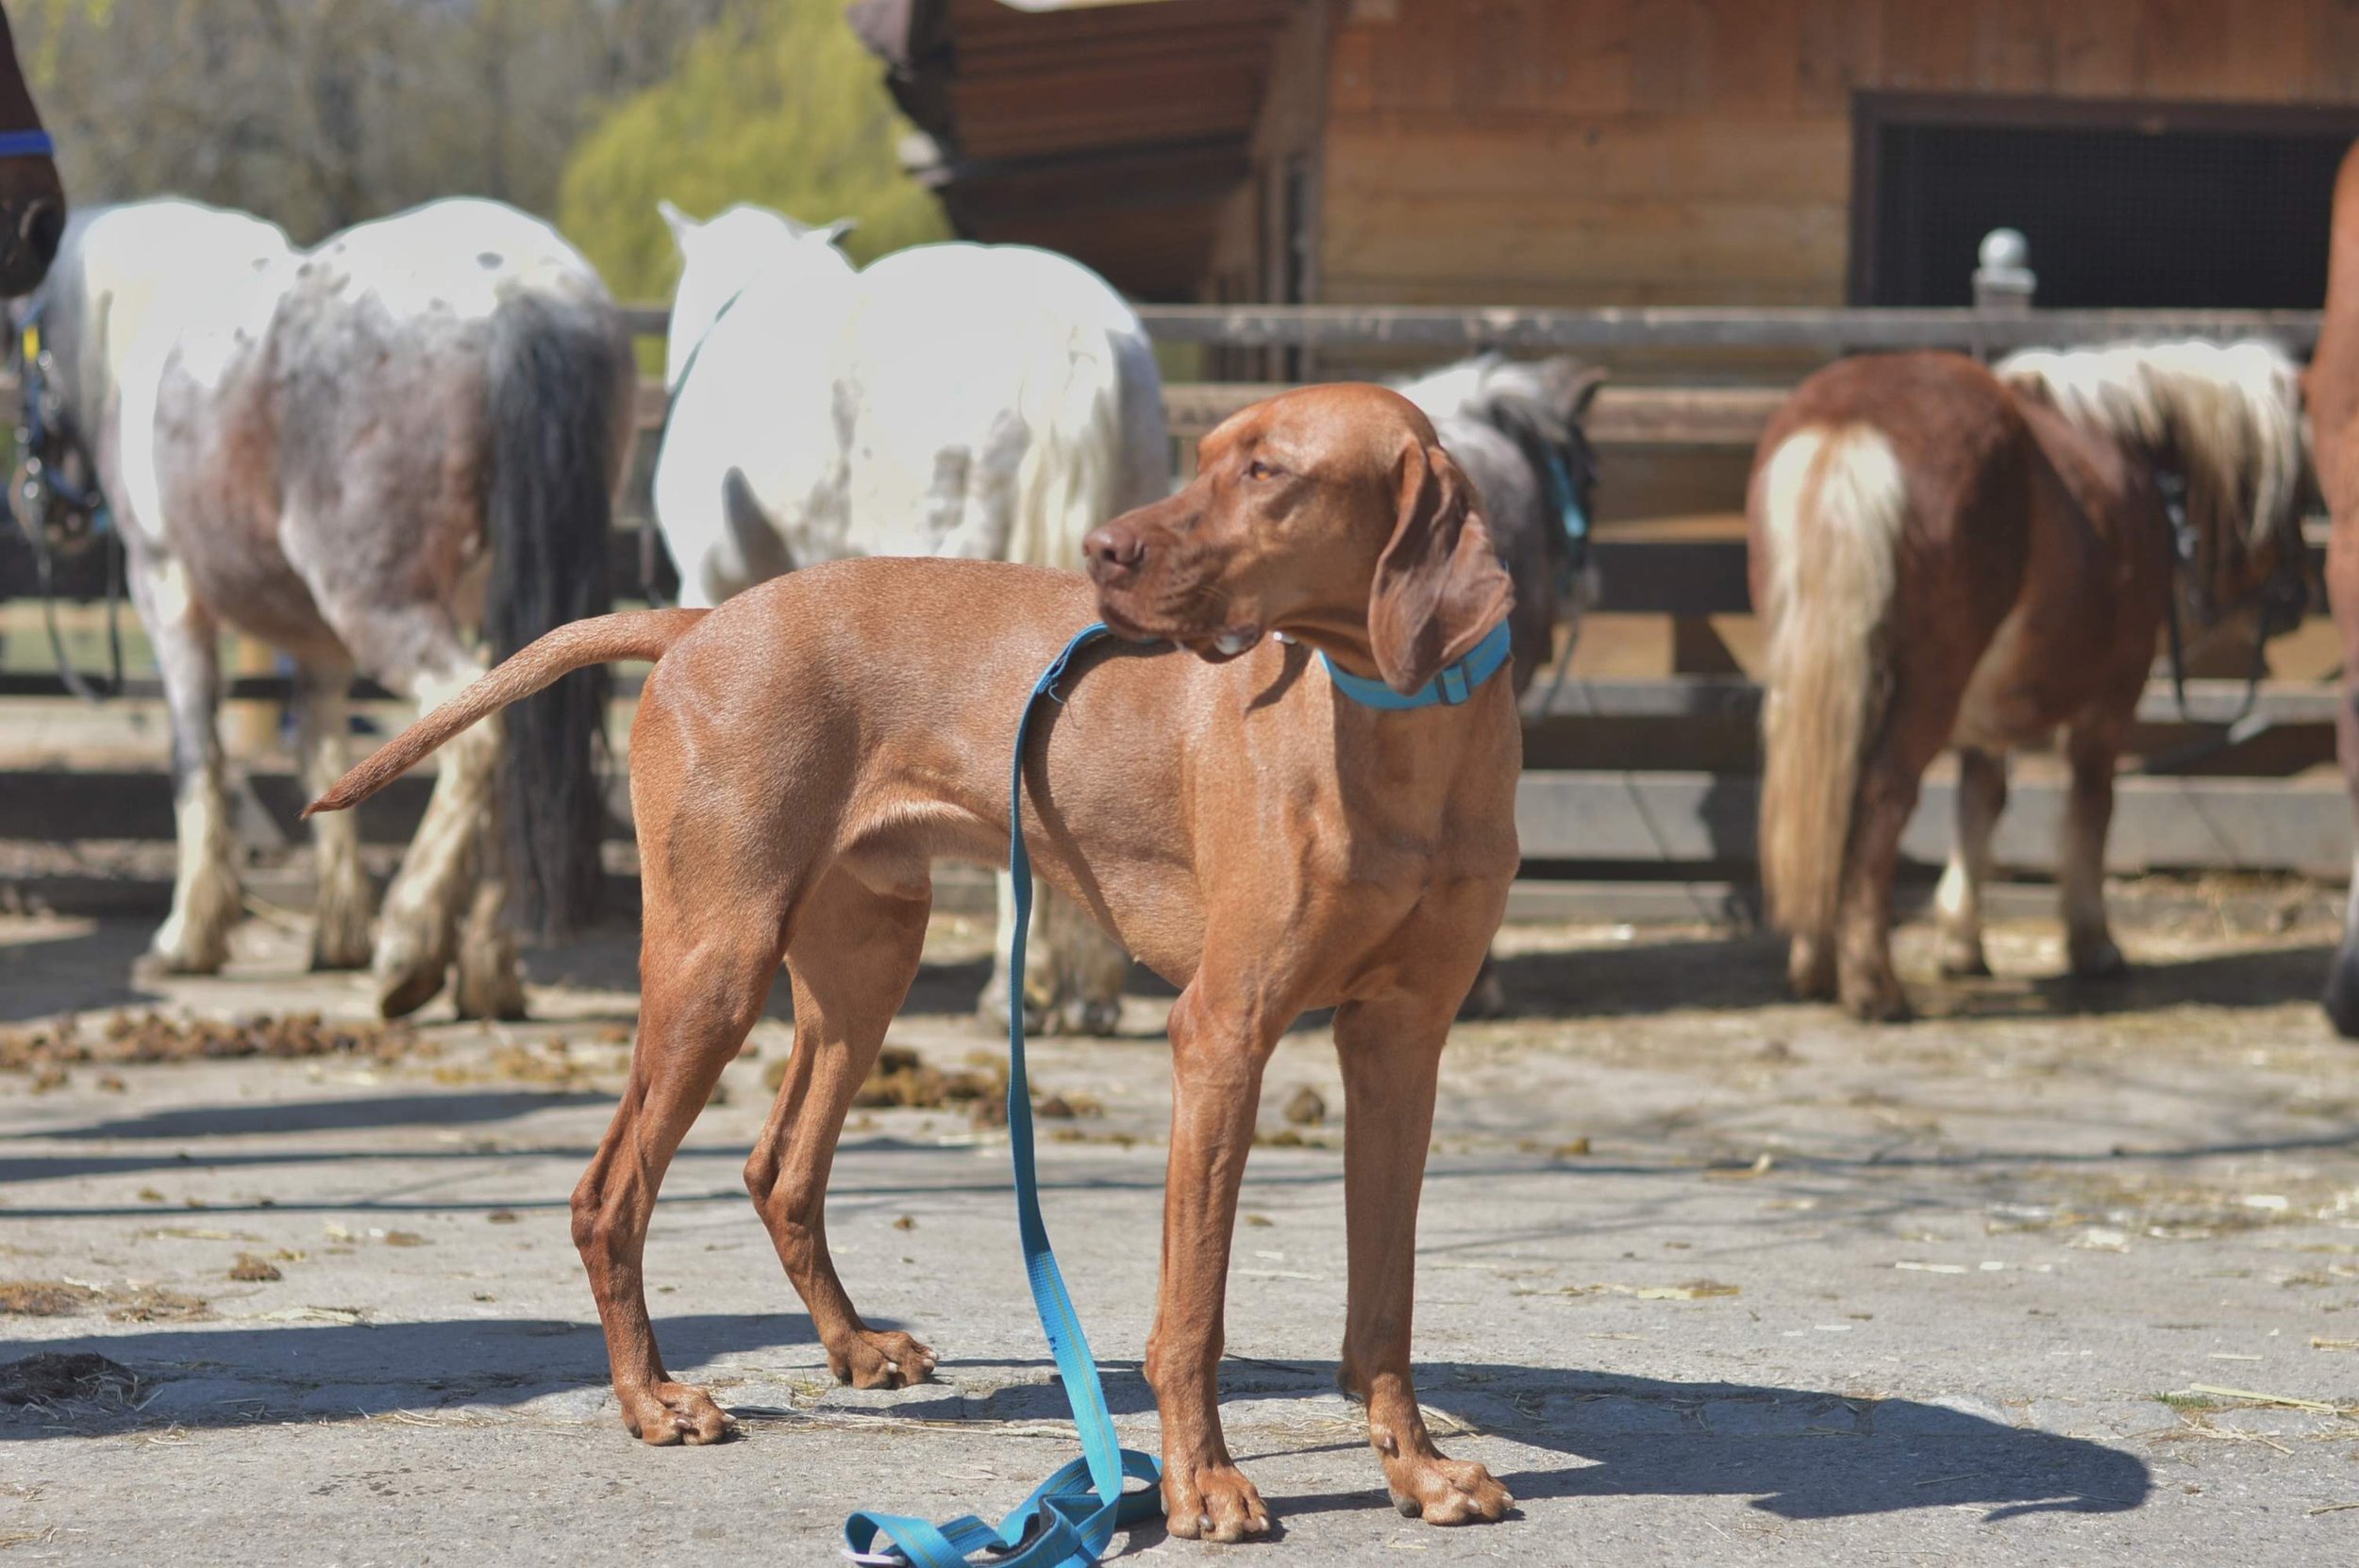
Now, I would say the challenge with Luka’s nails is a Vizsla-specific issue, along with a few other breeds which have what is known as cat-like paws, such as Dobermans, Rhodesian Ridgebacks, Akitas and Great Danes. Dogs with cat-like paws have a short third digital bone, making their paws more round and compact, taking less energy to lift therefore giving these dogs better endurance over distances. This means however, that overgrown nails take the paws completely out of their natural shape.
I have had and met dogs whose nails almost never need attention, particularly if they walk a lot on concrete. Having said this, regardless of how little or often your dog’s nails need attention, you will need to trim their dew claws since these nails are never in contact with the ground. If they are left to overgrow, they will eventually curl back on themselves and start growing into the paw pad, which as you can imagine is excruciatingly painful for the dog.
In Luka’s case, I have to trim all of his nails at least once weekly, sometimes twice if they need to be shaved back due to letting them go for longer than that.
I can keep Luka’s nails short enough not click on the ground, so hearing him in the middle of the night clicking around the apartment is my cue to get the Dremel out for a pawdicure! For most dog owners reading this blog, the good news is that this is unusually high maintenance for a dog and so it’s probably likely that you could get away with trimming them much less regularly! (And it depends on how pedantic you are about your dog’s nails)
I guess I should be grateful to Luka and his high maintenance nails, because I feel that at this point I have become somewhat of an expert on how to trim nails, and most importantly the concept of positive reinforcement as a way to desensitise. I will talk about this a little later.
Why all the fuss about nails?
It’s ironic that I am as obsessed about my dog’s nails as I am, because I am certainly not concerned about my own nails!! Having said this, there are good reasons why it is important to maintain your dog’s nails.
Whilst it wouldn’t harm your dog to let their nails get long for a short period of time, if they are left long over long periods, it can cause joint problems and pain in later years. This is because long nails change their stance, putting their entire body alignment out. Us humans often suffer from aches and pains from having bad posture or being hunched over a computer or smartphone for too many hours in a day. The same applies to dogs who are not able to stand and walk in the right stance due to overgrown nails. Our dogs’ nails are actually very important in sending signals from the ground up to the body, so nails are a part of maintenance that should be considered as important as their diet and exercise, for example. A more detailed explanation of the role nails can play in the health of your dog and the concept of the kinetic chain can be found explained in this article.
Long nails can also lead to injury, which I have seen sometimes happen when dogs get their nails caught on something and rip off. Unattended nails tend to be thin and long becoming easy to crack. Both of these types of injuries are extremely painful and require regular medical follow up until it heals.
The best tools for trimming dog’s nails
There are three tools you can use; nail cutters, electric nail files such as a Dremel, and a manual nail file.
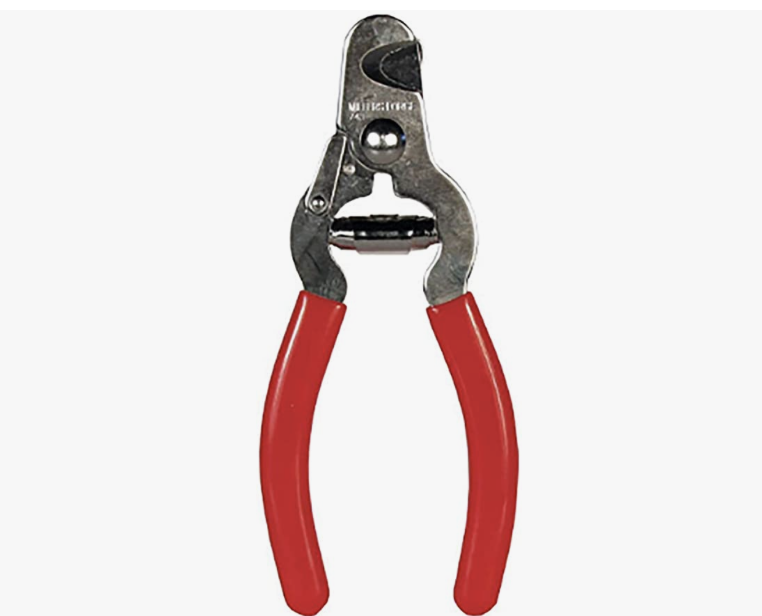
The nail cutters are the most straight forward but you are most likely to hit the quick with these. Also, many dogs don’t love the nail clippers and there can be a couple of reasons for this; firstly they may have had their quick cut and associate the nail cutters with pain. Secondly, it may be that the nail clippers aren’t sharp enough to make a clean cut and instead crushes their nail, which may not hurt as much as having the quick bleed, but nonetheless not comfortable. The only pair of nail cutters a dog owner will ever need regardless of the size of your dog is the Miller Forge nail trimmers. They are extremely sharp and therefore slices easily through your dog’s nail, making it a much more comfortable process. The key to successful nail trimming with clippers is to take tiny slices off.
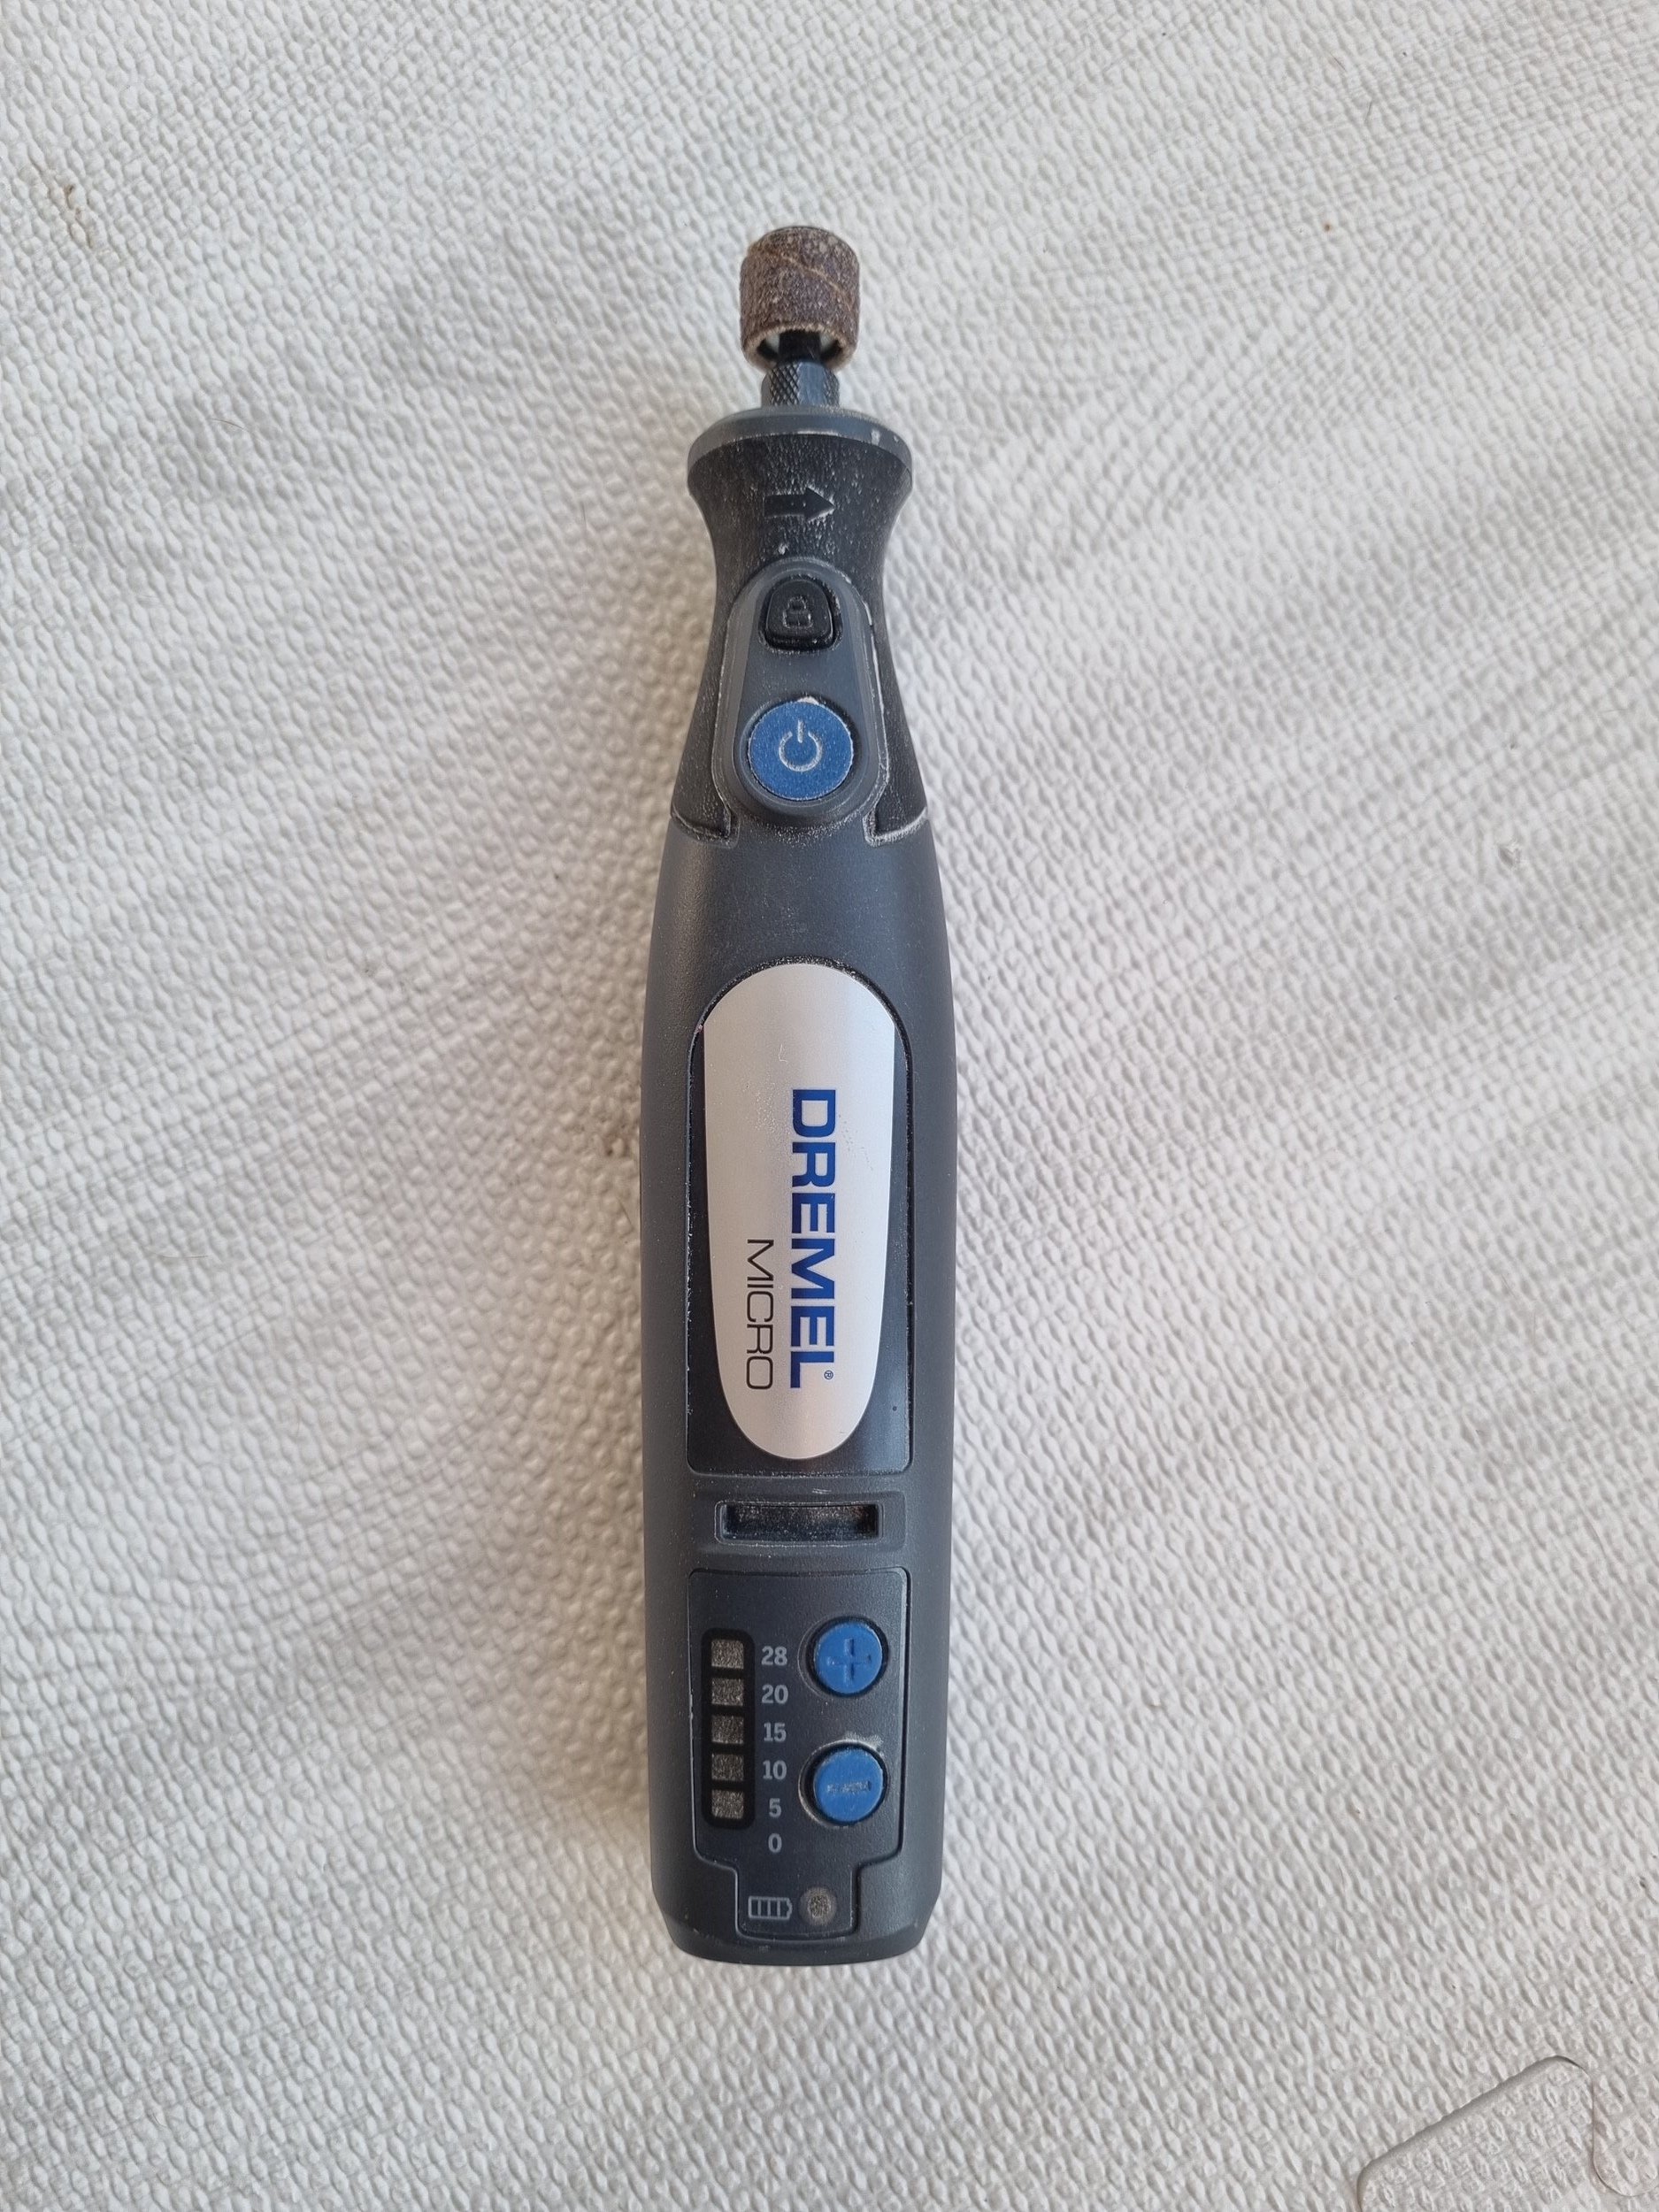
The Dremel is an electrical tool that you will find to sand down various materials and can be bought in hardware stores. I have the Dremel Micro which is cordless but still powerful enough to effectively file Luka’s paws. I had initially invested in a cheap pet specific electrical file but it didn’t have enough power to really file away at his paws, meaning it just overheated his claws quickly without taking much off. You use a round sand bit on the Dremel and file away at the dog’s nails.
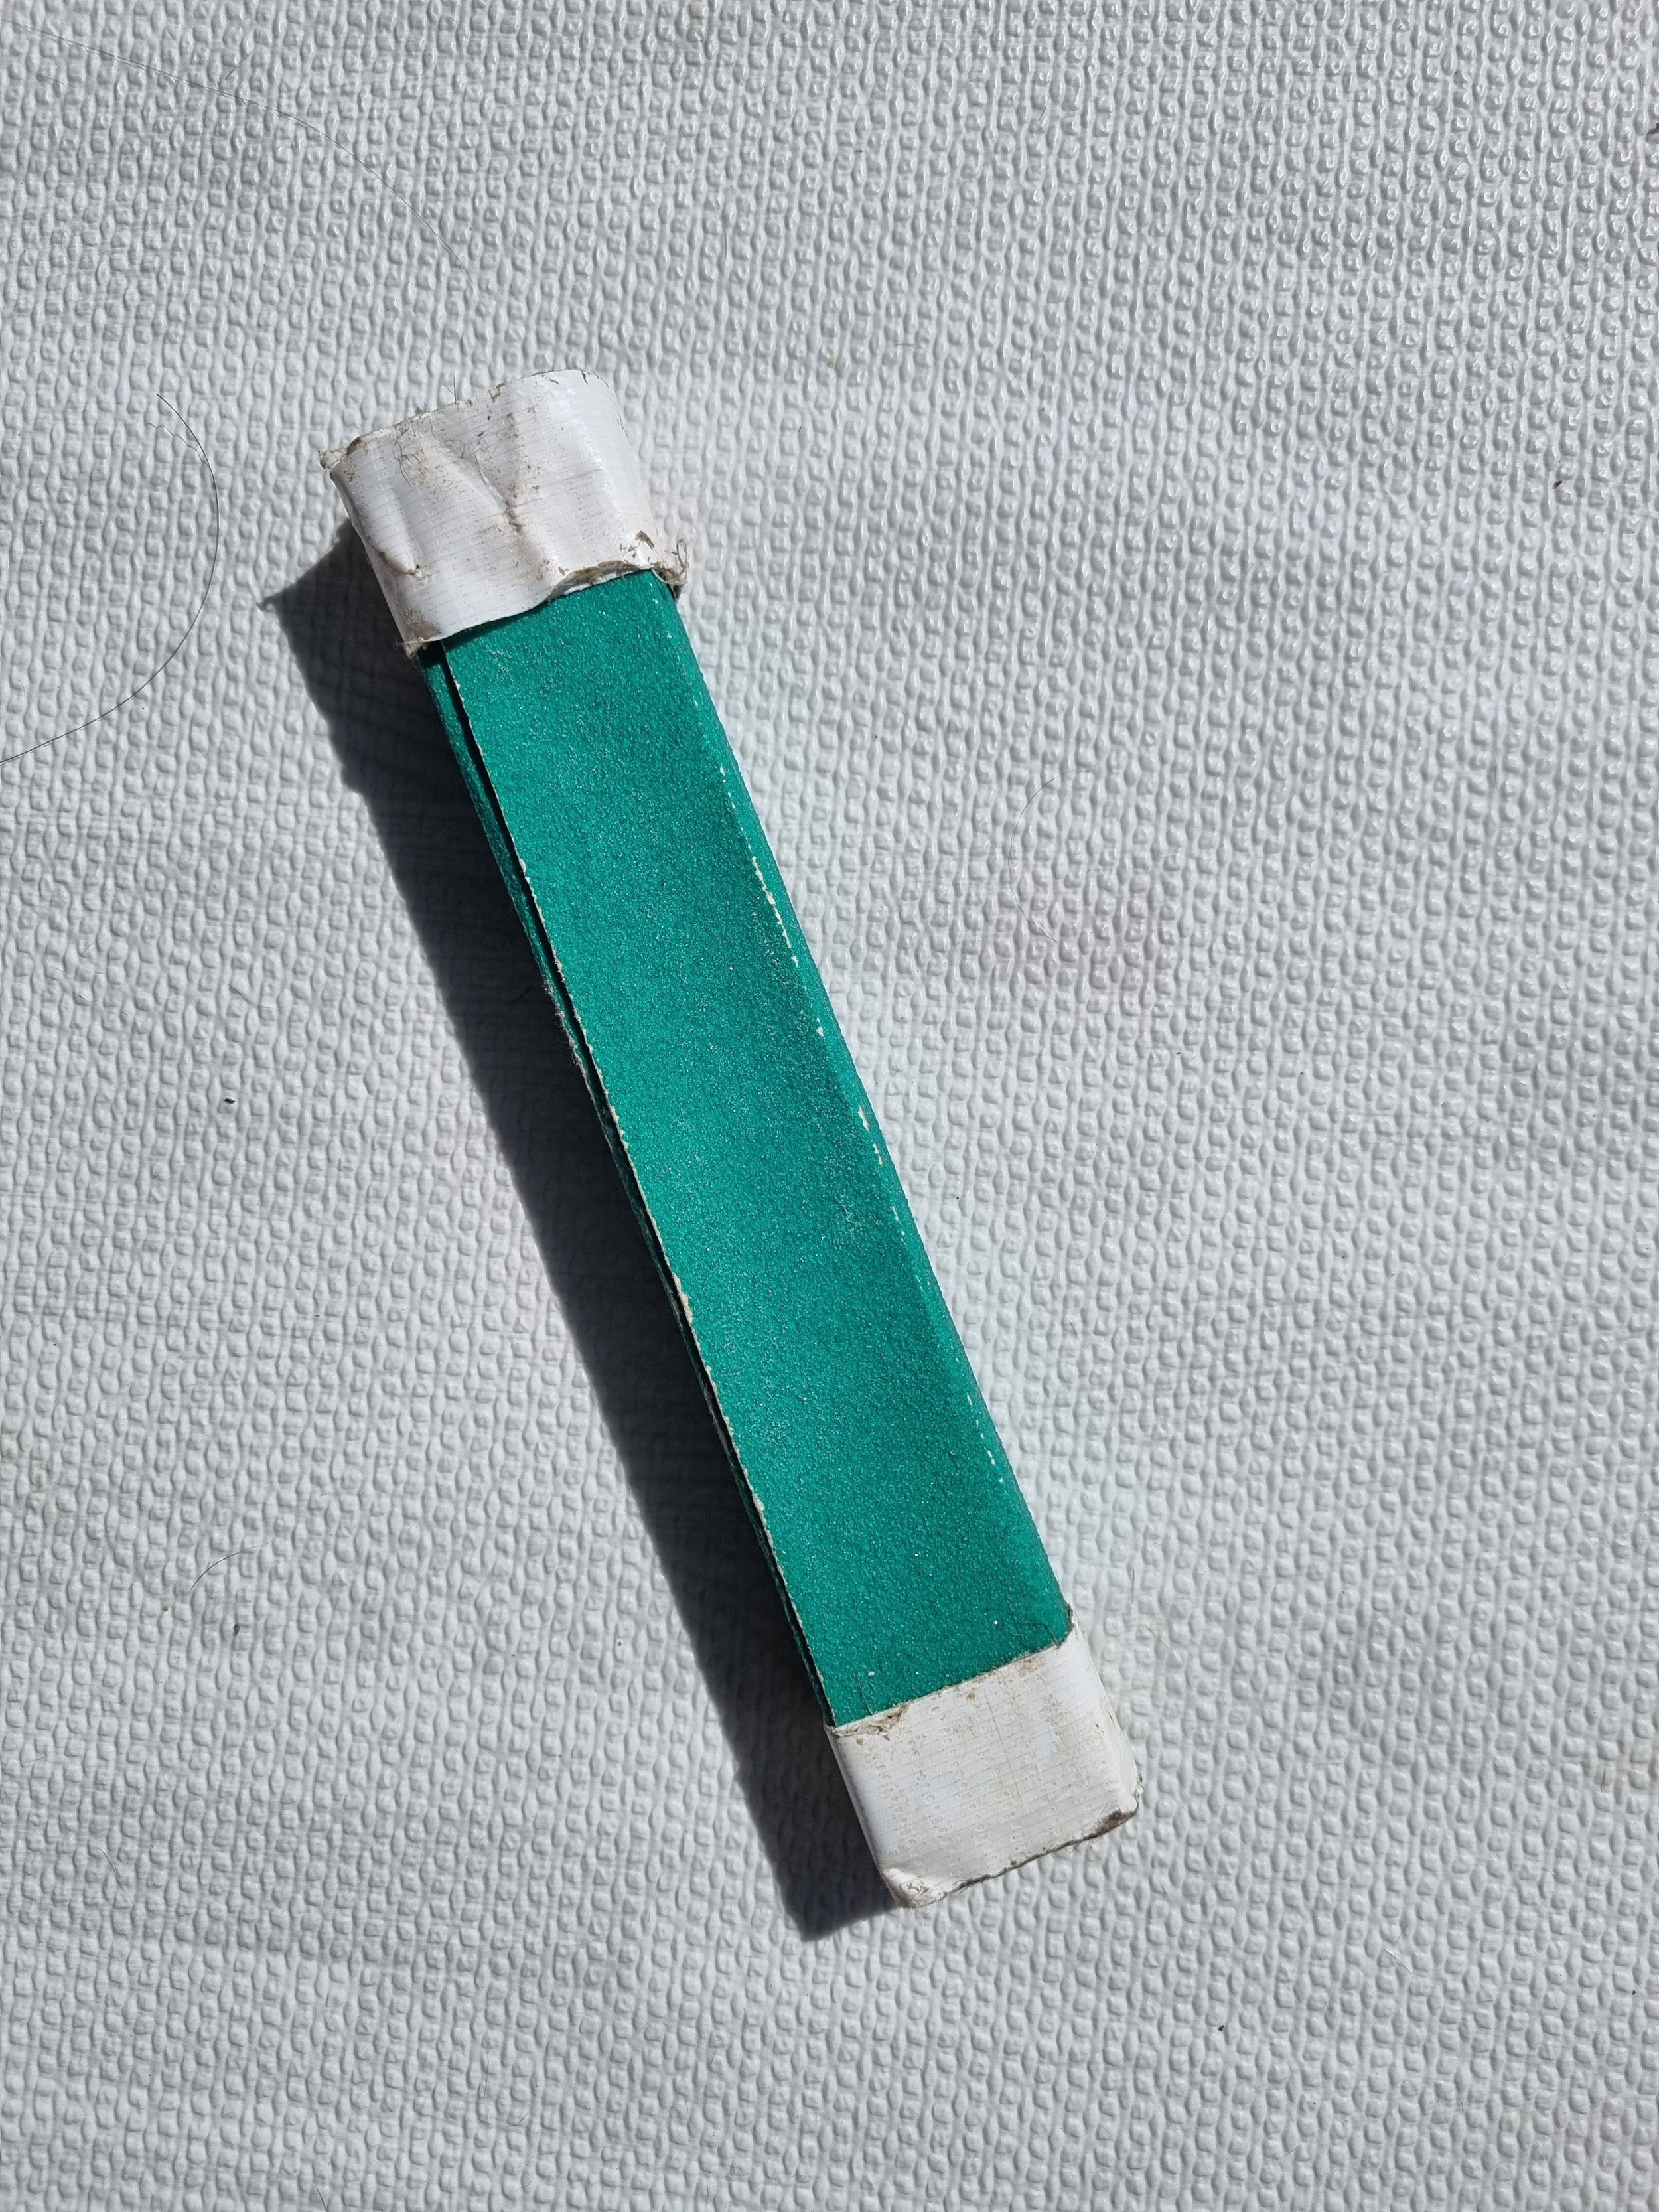
For nail files, you could get large human ones for your small dogs, however Luka’s nails require a bit more than that so I found a rectangular wooden piece and stuck a piece of sand paper to it in order to create a nail file.
How much is too little or too much to cut?
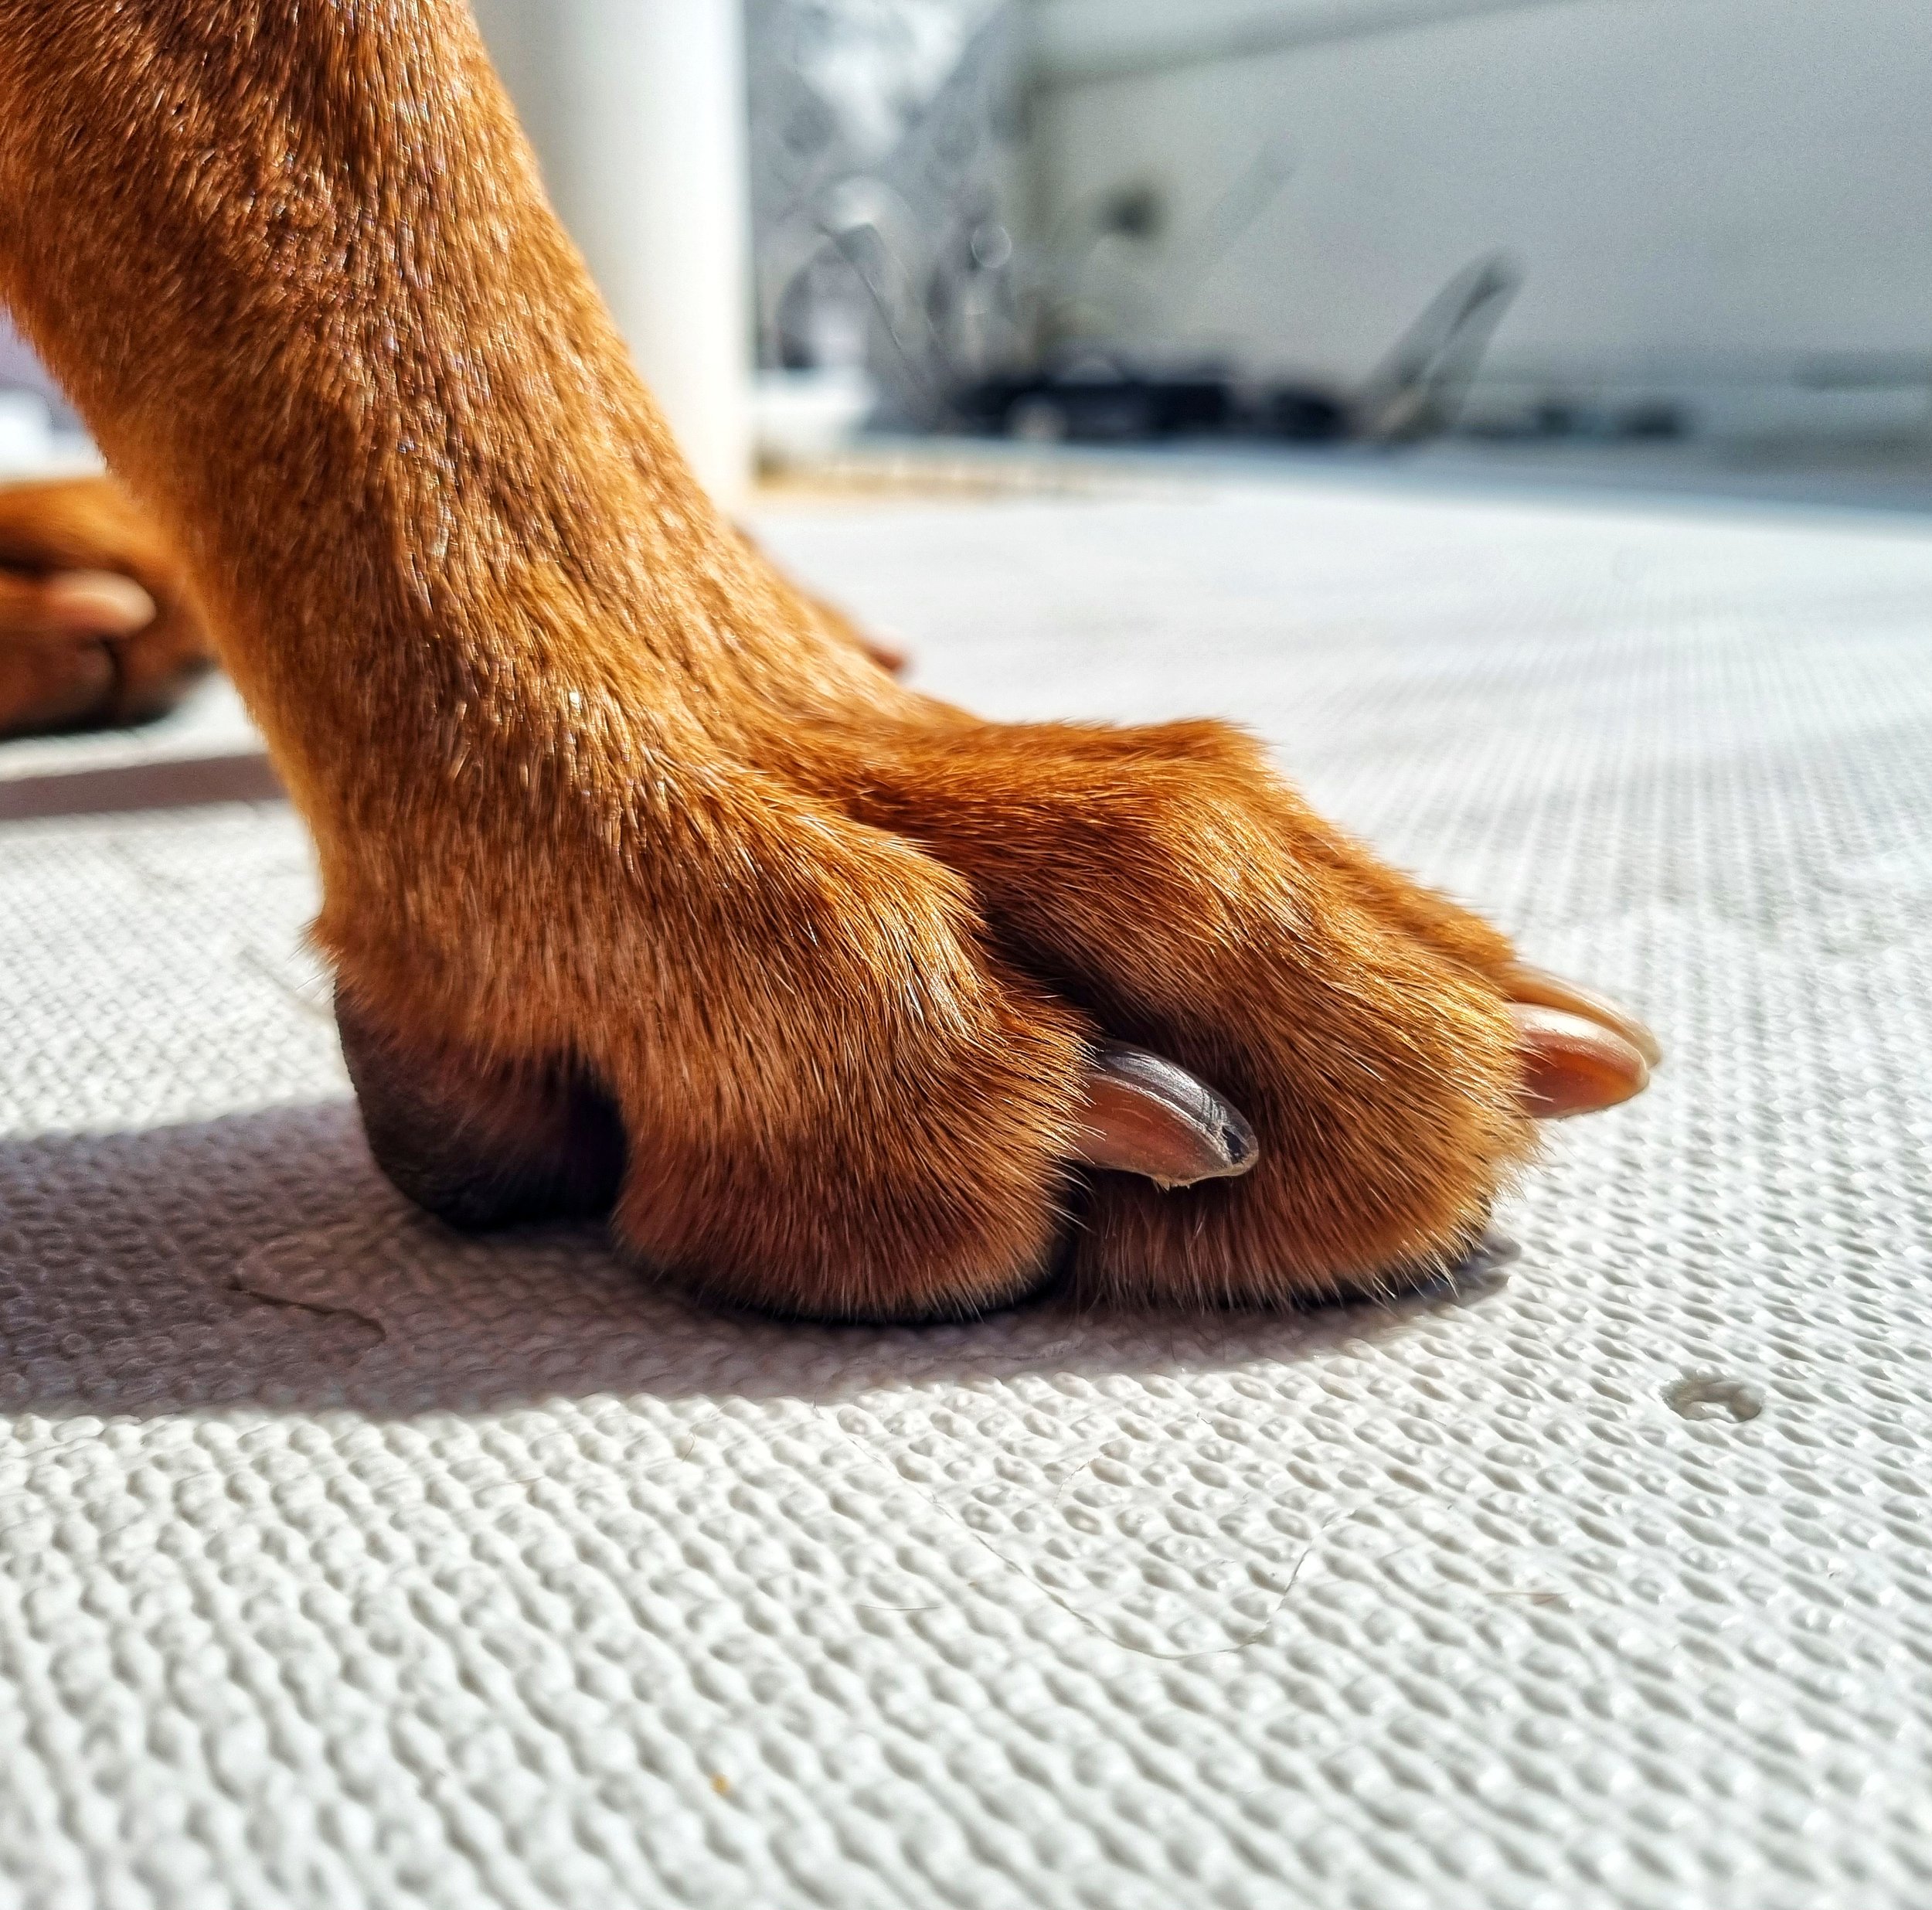
The gold standard for nails is that they should not be in contact with the ground when the dog is standing, and the nails should not click on the ground when they walk. Depending on the foot morphology of your dog and how long the quick is, the clicking may be inevitable. For example in dogs who have hare-like paws, their third digit bone is much longer making the paws long and it seems this makes it very hard for their nails to be short enough that they don’t click on the ground when they walk. Examples of dogs with hare-like paws are generally all of the sight-hounds; greyhounds, whippets, salukis, borzois etc.
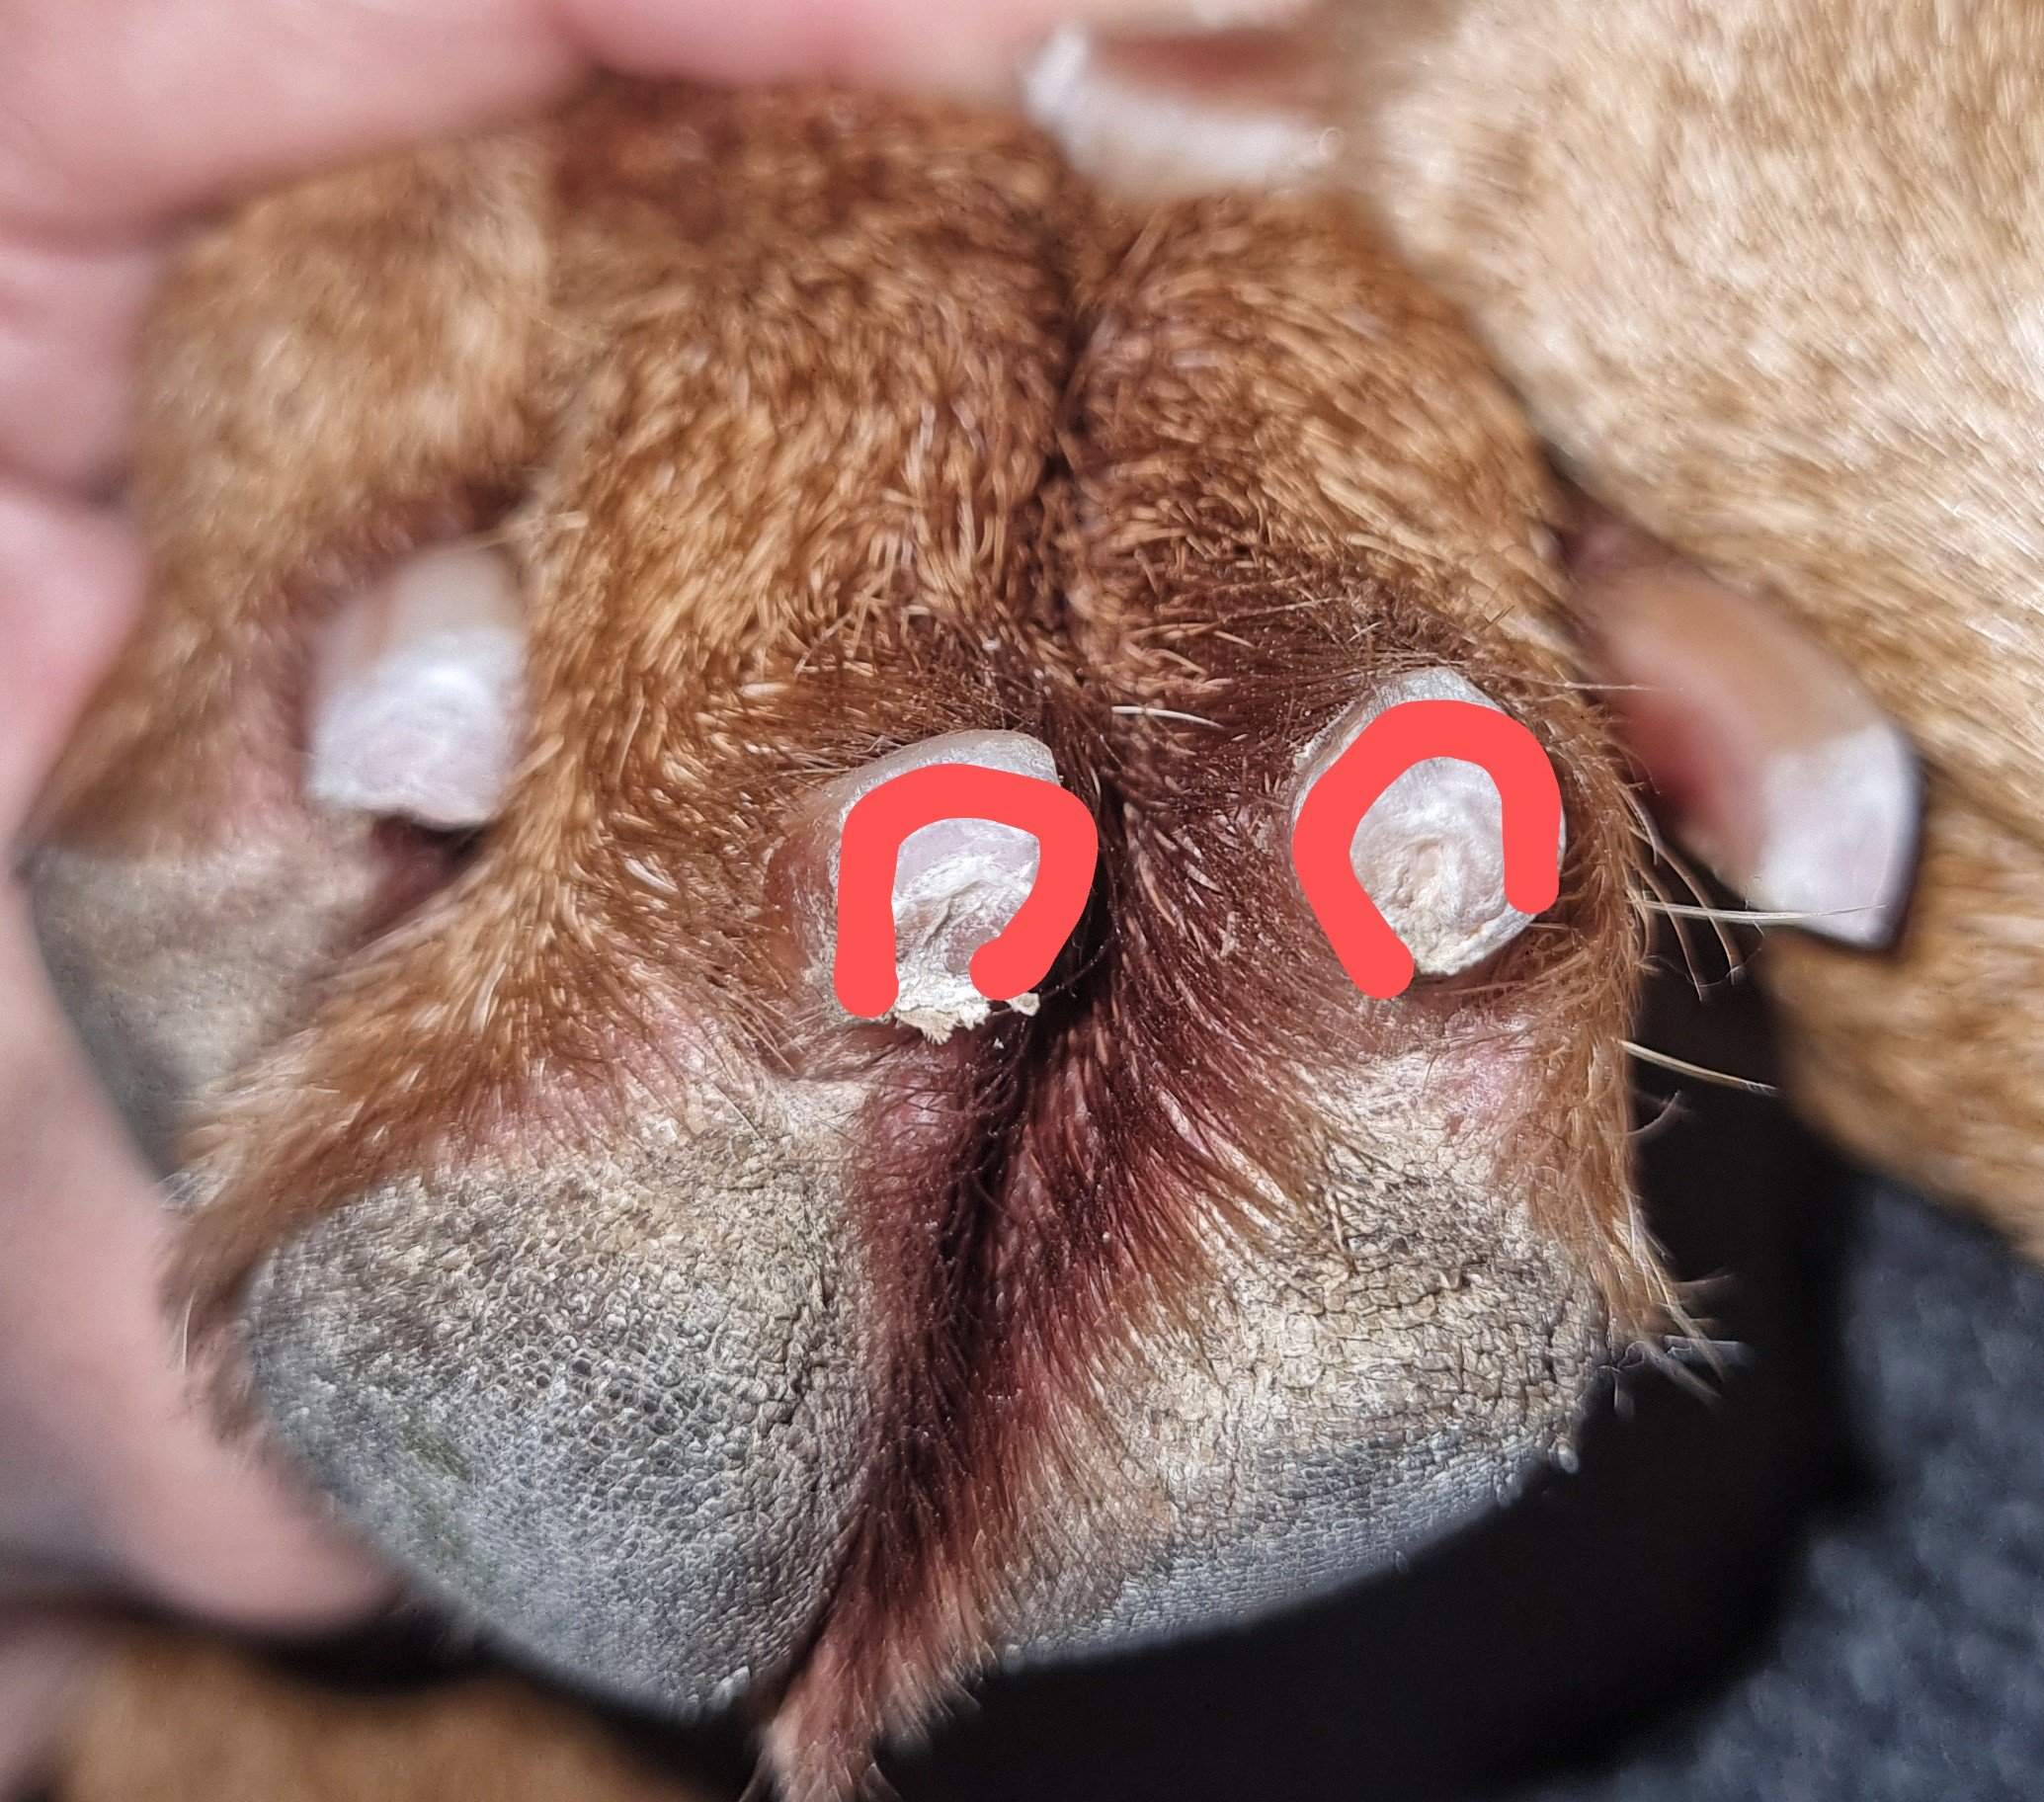
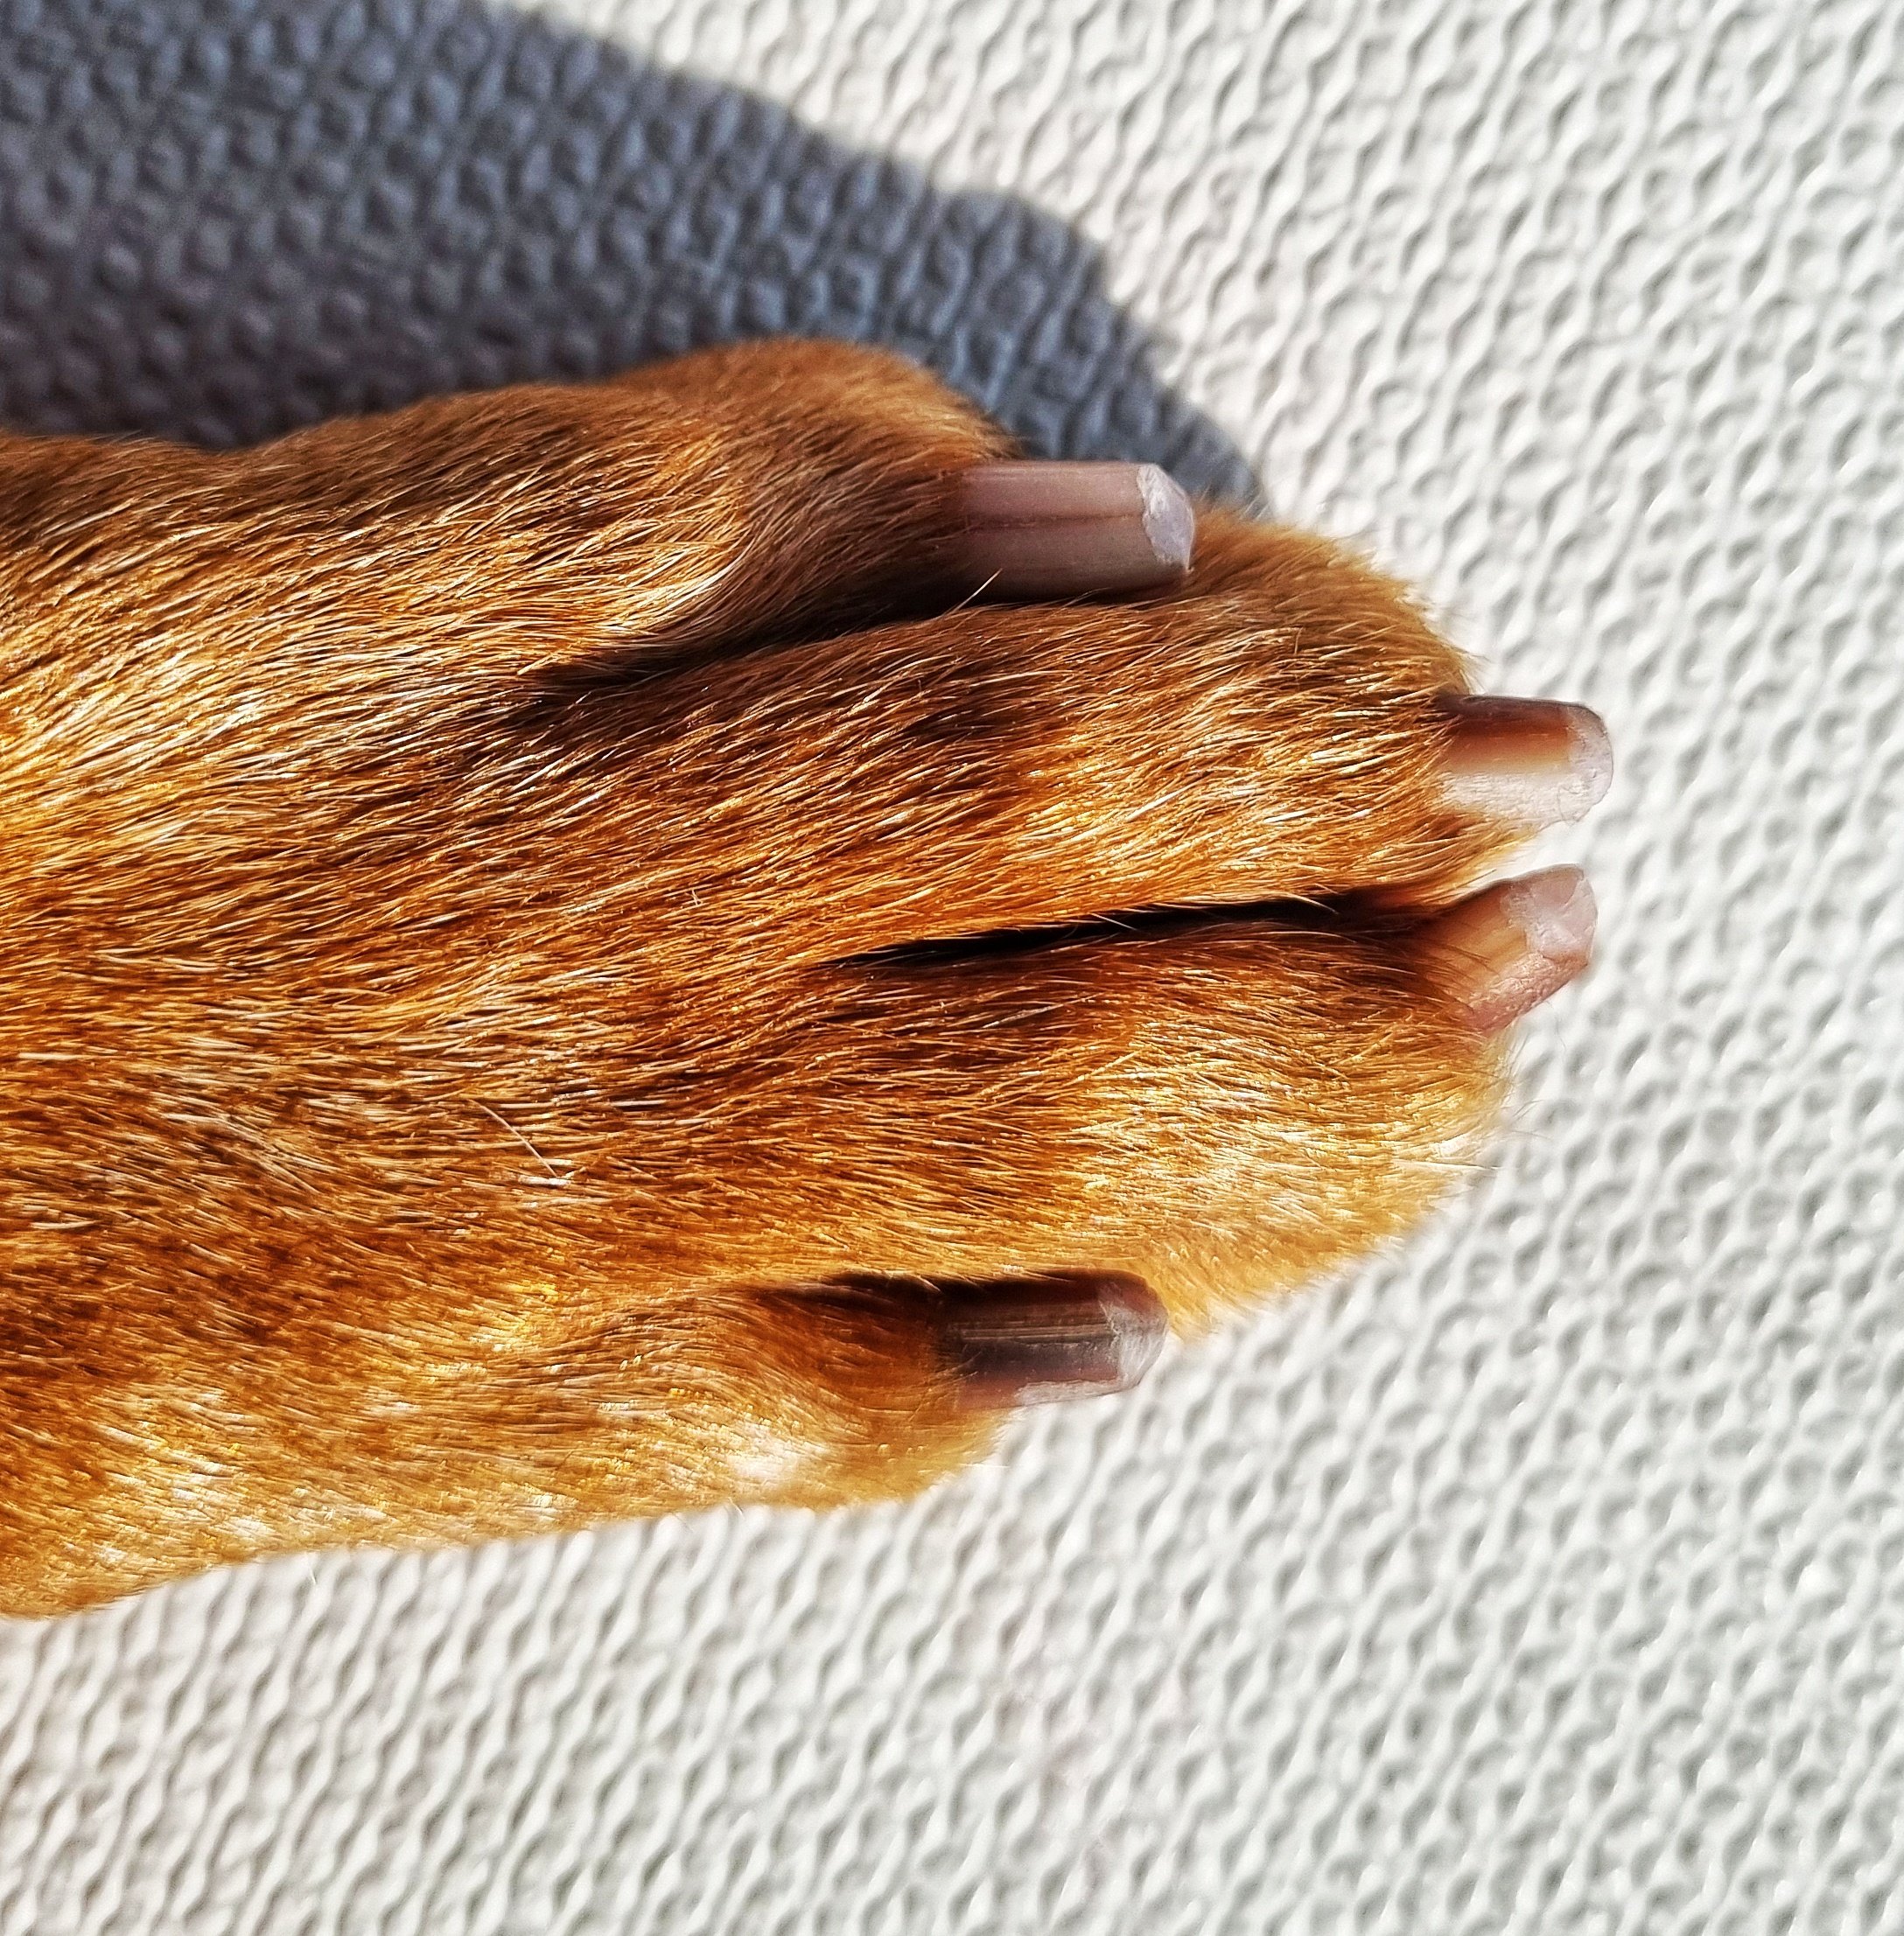
If your dog has white claws, then you will easily see where the quick is. You want to get as close to the quick as possible to keep the quick short. If your dog has black nails, then you are looking for the black dot in the middle of the nail which indicates the quick is very close. I have found brown nails such as Luka’s Vizsla nails to be very challenging because you can neither see the quick through the nails, nor see a black point. What I look for is the white horseshoe line to indicate I’m getting close to the quick.

The best way to maintain quick and nail length is to go with the Alternative Cut Line. This technique allows you to keep the nail cut as closely to the quick as possible, chasing it back. It’s worth keeping on top of the nail length, because the quick grows all the time with the nail. This means long nails which haven’t been regularly maintained will have long quicks, which take quite an intensive effort of using the alternative cut line regularly (you want to aim to trim nails every 2 - 3days) to get them to recede. This article discusses in detail about the anatomy of the claw and how to do an Alternative Cut Line, including knowing when to stop clipping. Always have some styptic powder handy in case you do hit the quick, otherwise I’ve also read that flour or even lip balm can help to stem the bleed quickly, in the case that you hit the quick.


Desensitisation for stress-free nail trims (or anything your dog is scared of!)
As a puppy Luka had his quick cut several times (sorry, Luka!!) which bleeds a lot and is extremely painful. So by the time he was a year old, he had a full on phobia of nail trimming. One day we were trying to force him to get his nails cut, my husband had him pretty much in a choke hold and I was trying to clip his nails whilst poor Luka was trying to wriggle and roll desperately out of the hold, panting manically (panting in these types of situation is a sign of extreme stress) and eventually he tried to nip us in order to try to free himself. At this moment I realised that this is not the relationship I wanted to have with my dog and promised myself never to put Luka in this level of stress over anything, ever again.
This meant that I had to start getting him used to the Dremel as an alternative to the nail cutter. This was the start of a 10 month process, during which time I really learnt to take things at Luka’s pace, and respect his threshold for nail trimming. I thought of it less like a tedious and painful process to go through, but rather a long term learning experience for him and for myself. I imagined I was trying to teach him a complex trick. This allowed me to stay with the process and learnt the power of celebrating even the tiniest of successes!
If you have a nervous dog, or a dog who has a phobia around nail trimming like Luka did, then you will need to be EXTREMELY patient and take it one tiny step at a time and do short sessions regularly so as to not overwhelm them. You only progress as quickly as your dog is ready to, it’s about reading your dog’s signs and keeping them calm and relaxed. As mentioned before, it took me a full 10 months of more or less daily desensitisation to get to the point where I can now sit down and do all of his nails in one sitting. If you would like to learn in detail about how to desensitise your dog, including what Positive Reinforcement (R+) is, there is a very thorough and useful group on Facebook called Nail Maintenance for Dogs, which was where I learnt everything I needed to successfully desensitise Luka to the Dremel. It is now an archived group, meaning that you cannot make posts, however all of the information you require is in the files. It does give some good tips on how to manage your dogs nails whilst you desensitise them and actually get to the point that you can trim them as well.
If you embark on this process, it is NOT about forcing them to do procedures that the dog does not like. The aim with positive reinforcement is that your dog learns to enjoy the thing you are desensitising it to, and you can enjoy a stress-free and trustful relationship with your dog. Pushing your dog beyond its comfort level will only slow down or worse, reverse what you are trying to achieve. No matter your starting point, if you follow the process exactly as it is outlined in this group, you WILL get results! The R+ method has been a life-changing revelation, and has improved trust and communication massively between myself and Luka. The beauty of R+ is that it can be applied to anything, not just nail trims. Luka gets nervous when he passes other big dogs on walks. I have used R+ successfully to get him to be comfortable around all dogs.
Positive Reinforcement and Operant Conditioning
The easiest way to think of R+ is that regardless of the dog’s behaviour and outcome, a reward is always given. That is how a dog will associate a particular thing or chain of events with something positive.
When training dogs, we are often taught to only deliver a treat if the dog offers the behaviour we are looking for. This is called Operant Conditioning and we don’t want to use that when trying to desensitise a dog to something. This is because Operant Conditioning punishes a dog whether it is positively or negatively (not receiving a treat or being physically punished) for not delivering a desired behaviour. Therefore if your dog is scared of whatever it is you’re trying to desensitise it to, Operant Conditioning will not teach it to LIKE something and think of it as something POSITIVE. It will simply teach the dog to offer a behaviour under the pressure of punishment. If you are interested in understanding the different quadrants of dog training, this YouTube video gives a good guideline.
Nail desensitisation broken down
For desensitising Luka to the Dremel, here are the steps I broke it down to, before moving onto the next. They may not be exactly the same for your dog depending on its starting point and nature. You might be able to take more steps at a time, or need to break them down into even smaller steps. Let your dog be your guide. If he walks away or clearly doesn’t want to interact in the process, stop immediately and try again later. Keep the sessions short, I did 5 or so minutes at a time, but aimed for a few times a day if possible:
Leave the Dremel in sight in the same room
Turn on the Dremel briefly while the dog is in the same room
Place the Dremel turned off next to the dog
Turn on the Dremel briefly next to the dog
Hold the dog’s paw while holding the Dremel in the other hand turned off
Hold the dog’s paw and briefly turn on the Dremel without touching it to the dog’s nail
Hold the dog’s paw and touch the butt of the Dremel turned on to the upper part of the dog’s leg so it feels the vibration
Hold one nail of the dog (as if you’re about to file it) and touch the turned off Dremel to the nail
Hold one nail of the dog and turn on the Dremel and touch the butt of the Dremel to the dog’s nail
Hold one nail of the dog and touch the turned on Dremel with the sanding part for 1 second to the nail
Hold one nail and increase contact time with the Dremel turned on
Remember you want to treat after each action regardless of your dog’s reaction and you move onto the next step only once your dog is reliably happy with the previous step. What I found interesting was that there were a few steps that took a long time to overcome, whilst others were quick to get through. Also, like humans, dogs can make progress then regress, so don’t be frustrated. Your job is to read your dog’s stress signals and never to put him into a state where he is stressed, otherwise you won’t make progress.
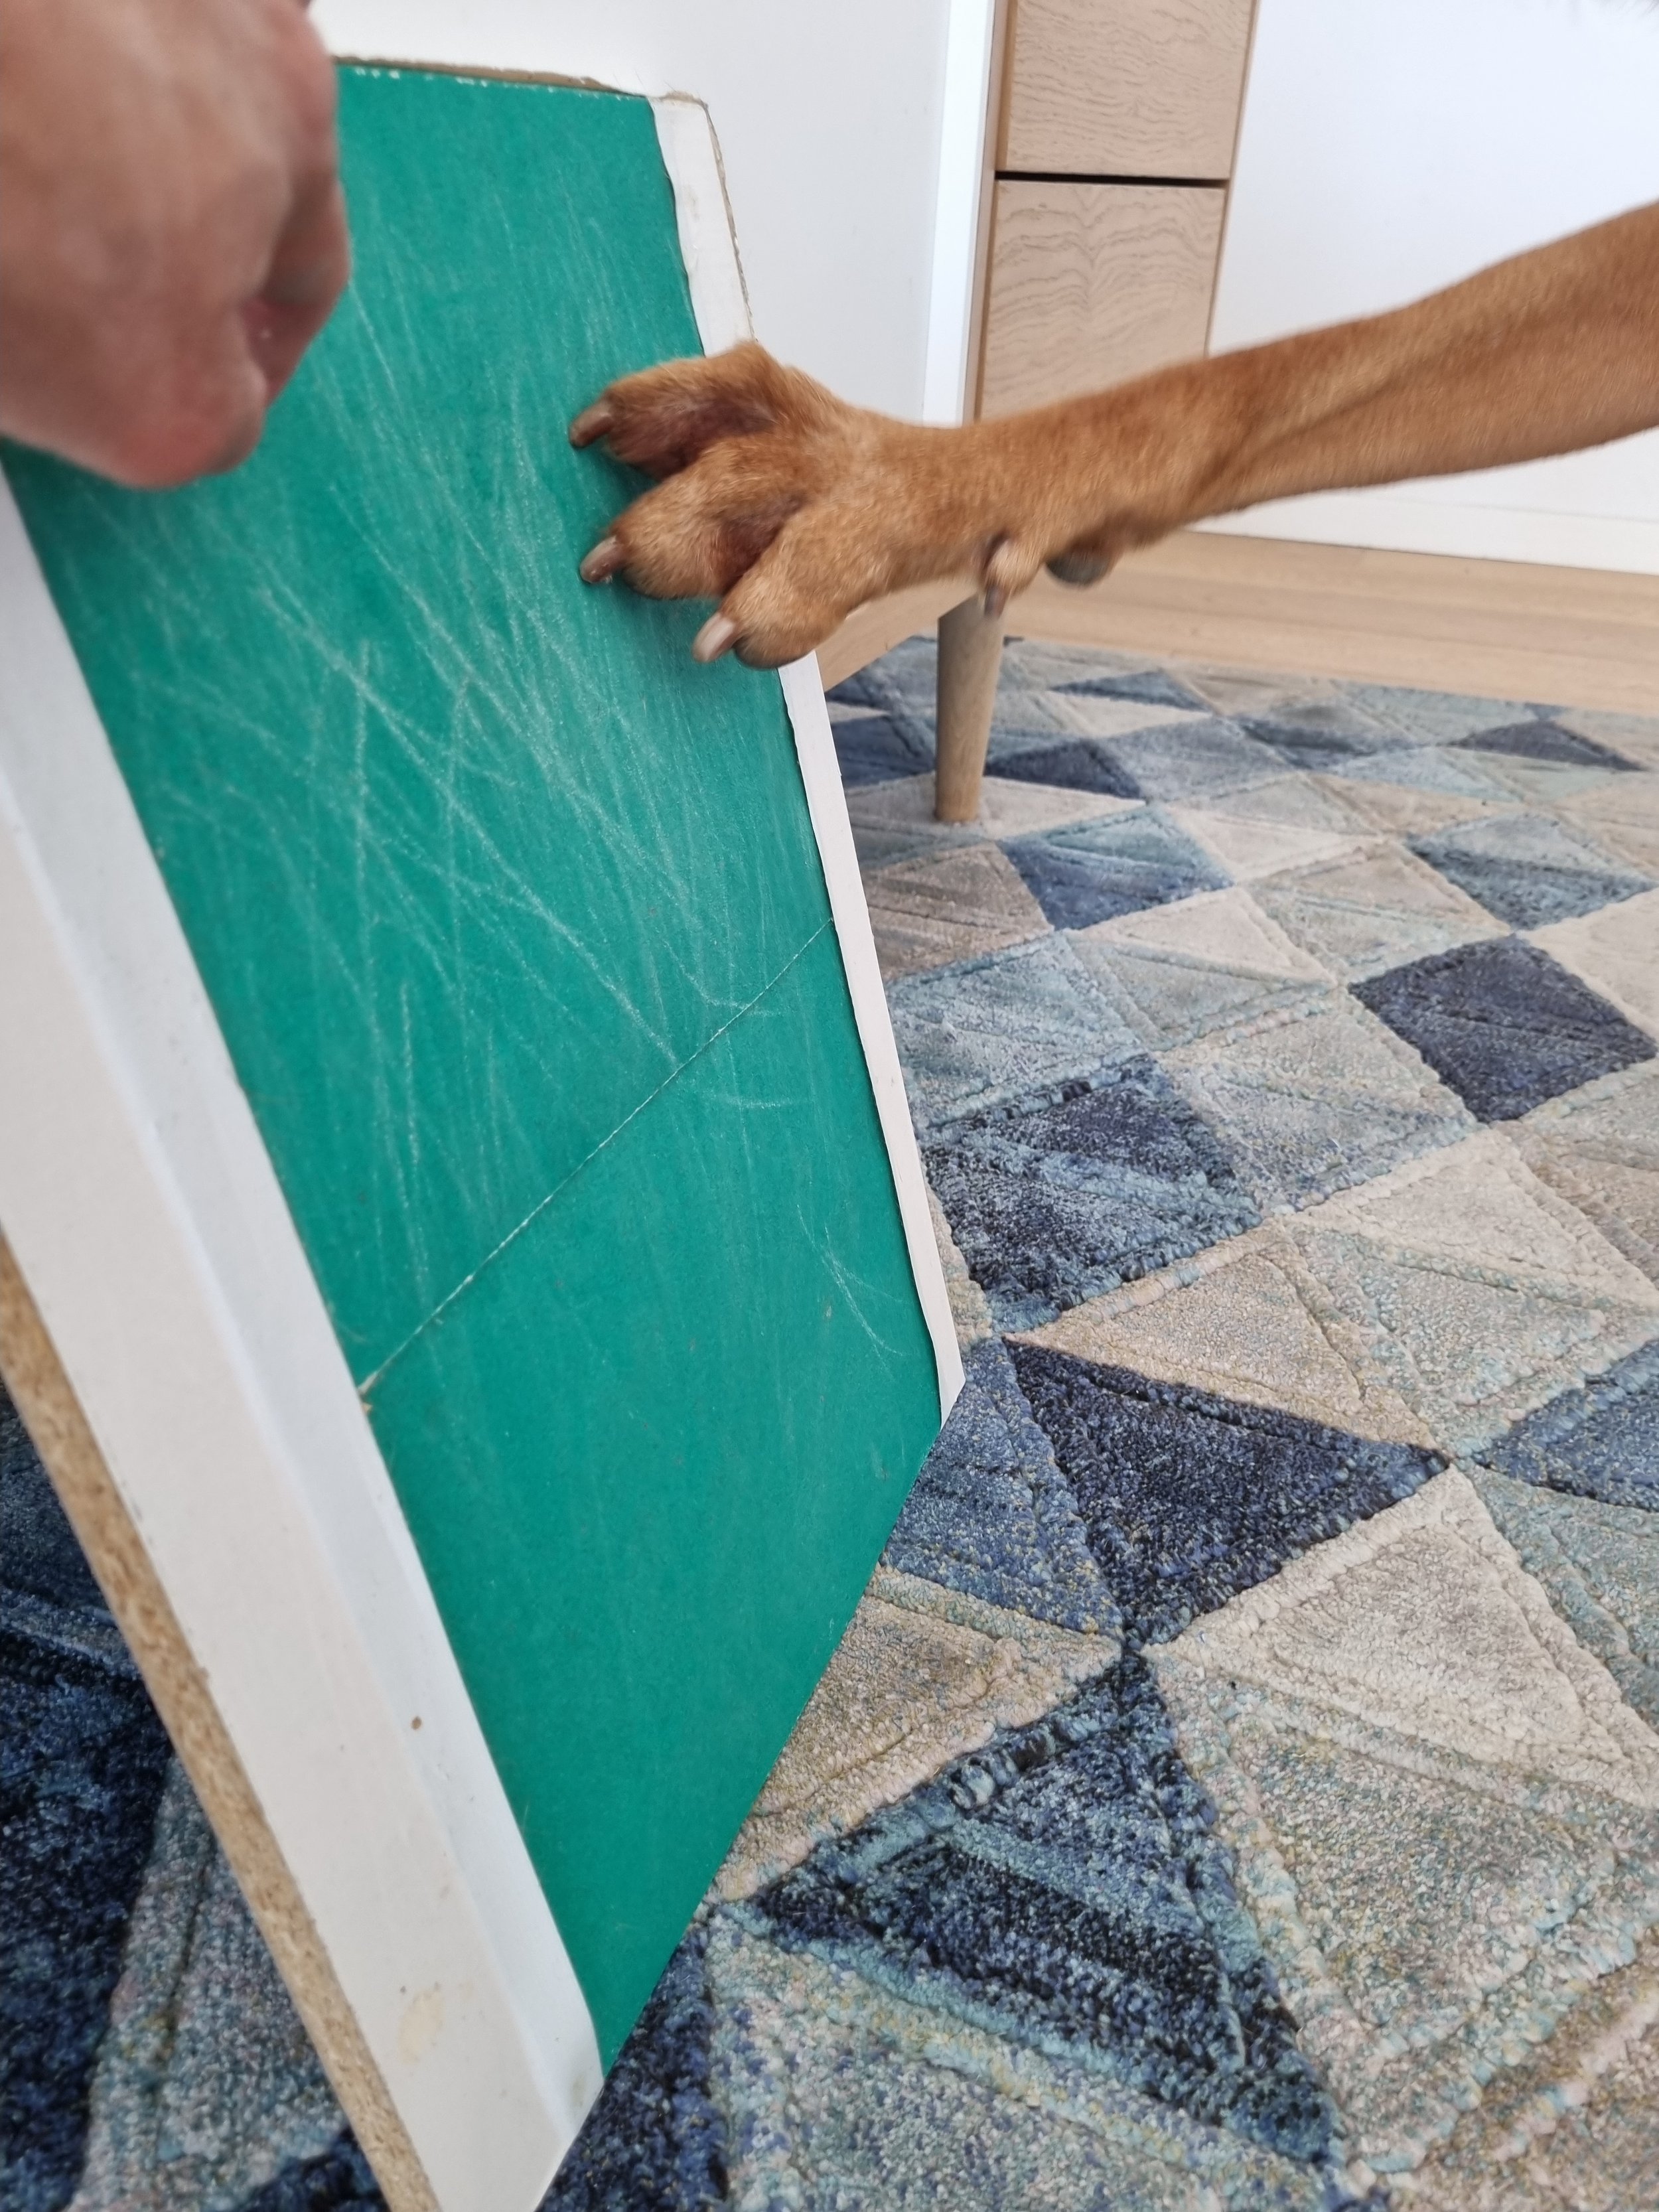
Luka filing his own nails on the scratch board
I did 5 minutes at a time, as many times as I could in a day, every day like this. You can only imagine how much patience this involved, since when we started this process Luka would get up and leave if I so much as looked at his paws for too long let alone touch them!!!!
Whilst going through this desensitisation process, his nails weren’t getting trimmed at all so I either hand filed his nails for as long as he would let me or had him scratch a board with sanding paper on it to file his own paws! Getting him to file his nails was reasonably easy because he already knew the “touch” command, so I would place the board in front of me, have him sit in front of me and ask him to “touch”. When ever he would make good long contacts with the board, I would treat him. (yes, well done, that is indeed Operant Conditioning! In this case that’s fine because I’m trying to teach him a new skill which he has no resistance to. It was like teaching him to sit, or lie down)
If you’re lucky and your dog has no particular issues with having its paws or nails handled, then you just need to make him eating or licking some salt and sugar free peanut butter or have a second person feeding treats regularly as a distraction while you clip away, it can be as simple as that!
I hope this article gave you some insights and tips to feel confident to maintain your dog’s nails, in a stress-free manner! This nail desensitisation process was by far the most challenging but gratifying and life-changing experience myself and Luka have been through. It taught me to look at Luka as his own being with his particular fears and anxieties, and by being sensitive to those things, it has helped me to build an even stronger bond with him. I hope you can experience the same!